
Oh my goodness, let me tell you about this Reese’s Peanut Butter Earthquake Cake! Every time I make it, it feels like I’m unearthing a treasure chest of flavor. Imagine biting into a rich, moist chocolate cake, and then suddenly hitting that creamy, dreamy layer of peanut butter goodness. It’s like a party in your mouth, and everyone’s invited! This cake is perfect for any occasion, whether it’s a birthday bash, a holiday gathering, or just a cozy night in with friends. Trust me, it’s a dessert that makes you feel good inside, and it’s so easy to whip up! You’ll never look at chocolate and peanut butter the same way again after this delicious creation. Let’s dive into this delightful recipe together!
Why You’ll Love Reese’s Peanut Butter Earthquake Cake
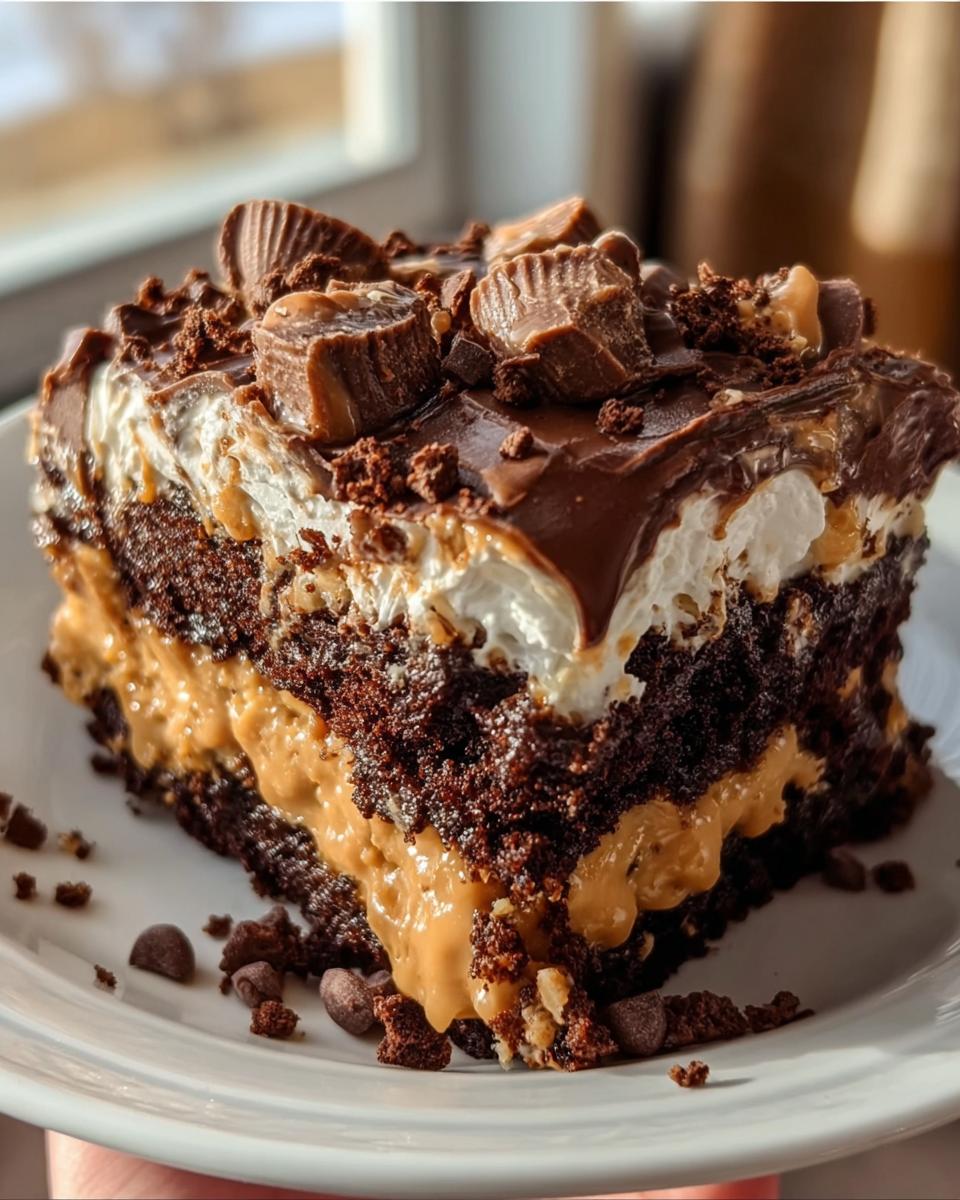
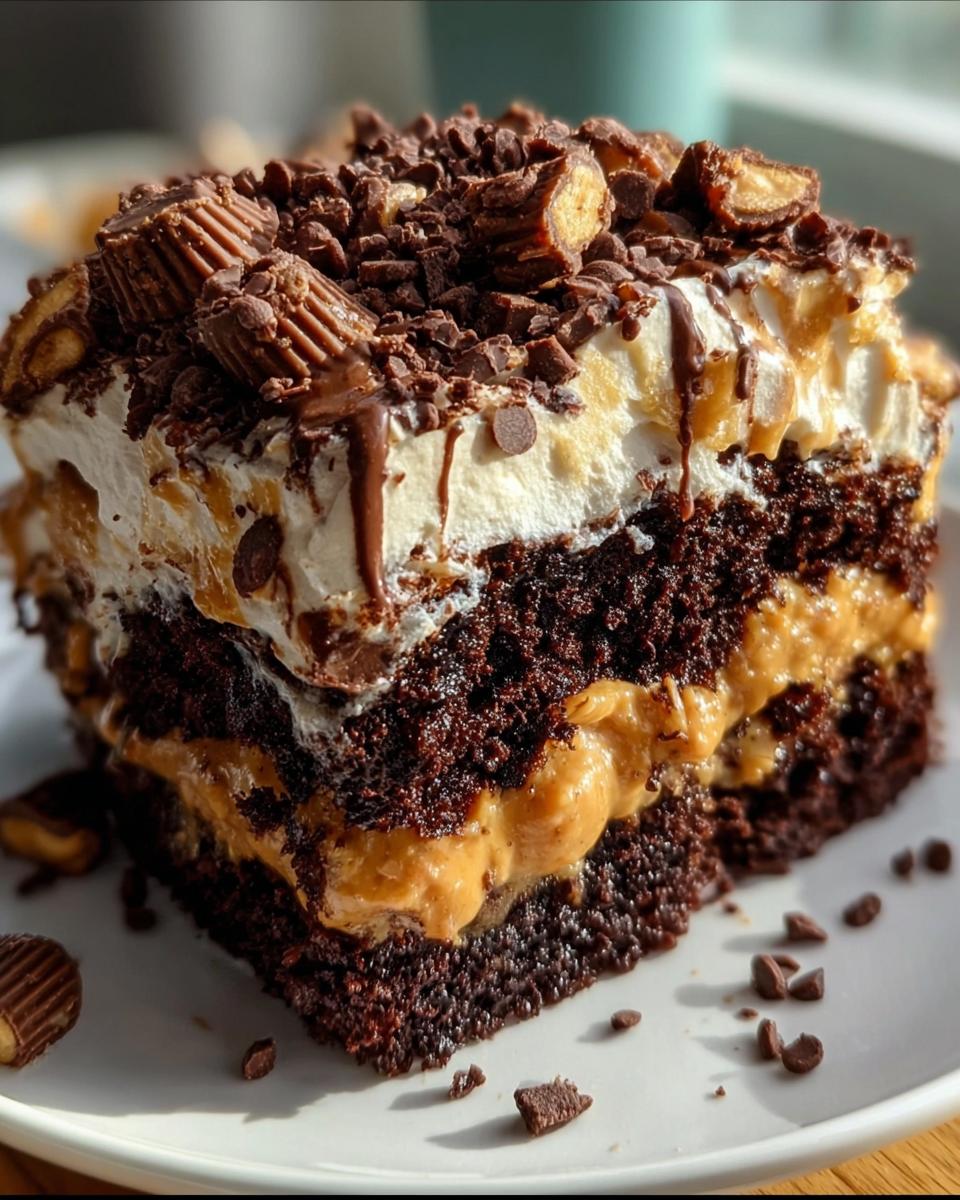
This Reese’s Peanut Butter Earthquake Cake is a glorious explosion of flavors that will leave you and your guests raving! First off, its chocolatey richness is simply irresistible. You’ve got that moist chocolate cake as the base, which is like a warm hug for your taste buds. Then, there’s that creamy peanut butter layer that melts in your mouth, creating a beautiful contrast that makes every bite a little slice of heaven.
And let’s not forget about the crunchy bits of Reese’s peanut butter cups scattered throughout, adding a delightful texture that takes this cake to the next level. It’s not just a dessert; it’s an experience! Perfect for gatherings, birthdays, or even just a treat for yourself after a long day, this cake brings people together. Trust me, once you serve this beauty, everyone will be asking for the recipe. It’s a showstopper that’s as fun to make as it is to eat, and I can’t wait for you to try it!
Ingredients You’ll Need
- 1 box chocolate cake mix: Choose your favorite brand; this will be the base of our delicious cake.
- Ingredients required for cake mix: Typically, you’ll need eggs, oil, and water, so check the box for specifics!
- 1 jar (16 oz) creamy peanut butter: I love using a good quality, smooth peanut butter for that perfect consistency.
- 2 cups powdered sugar: This sweetens up our peanut butter layer, making it heavenly!
- 1 cup crushed Reese’s peanut butter cups: Give them a rough chop to mix into the cake for tasty surprises.
- 1 cup mini Reese’s peanut butter cups, chopped: These little gems add extra crunch and peanut butter flavor on top!
- 1 tub (8 oz) whipped topping: You can’t beat that light, fluffy Cool Whip for the finishing touch.
- 1 cup semi-sweet chocolate chips: They melt beautifully on top, adding a rich chocolatey finish.
- 2 tablespoons butter: To melt and mix with heavy cream for drizzling; it adds flavor and moisture.
- 1/4 cup heavy cream: This makes our buttery drizzle super luscious and adds a richness that’s to die for!
Step-by-Step Instructions
Prepping the Oven and Cake Mix
Alright, first things first! Preheat your oven to 350°F (175°C). This is crucial for getting that lovely rise on your cake, so don’t skip this step! While your oven is warming up, grab your mixing bowl and prepare the chocolate cake mix according to the package instructions. Usually, you’ll need to mix the cake mix with eggs, oil, and water—just follow the guidelines. Mix it until it’s nice and smooth; no one likes lumps in their cake batter! Once that’s done, set the bowl aside while we get ready for the next exciting layer.
Creating the Peanut Butter Layer
Now, let’s make that dreamy peanut butter layer that’s going to make this cake so unforgettable! In a separate bowl, combine the creamy peanut butter and powdered sugar. Mix these together until you get a smooth, silky consistency. It should be thick but spreadable, like frosting! Once it’s ready, take your greased baking dish and pour half of the chocolate cake batter into it. Spread it out evenly, then dollop that luscious peanut butter mixture on top. Use a spatula to spread it out gently. Now, pour the remaining chocolate cake batter over the peanut butter layer, covering it completely. This is where the magic happens!
Baking the Cake
Time to bake! Pop that delicious concoction into your preheated oven and let it bake for about 30-35 minutes. You’ll know it’s done when a toothpick inserted into the center comes out clean—no gooey batter sticking to it! Once it’s baked to perfection, remove the cake from the oven and let it cool in the pan for about 10 minutes. Trust me, this cooling time is vital for the flavors to settle. After that, top it off with crushed and chopped Reese’s pieces, drizzle that melted butter and heavy cream mixture over the top, and then finish it with whipped topping and those delightful chocolate chips. Your Reese’s Peanut Butter Earthquake Cake is now ready to dazzle everyone! Enjoy every moment of this sweet adventure!
Variations
Now, let’s have some fun with this Reese’s Peanut Butter Earthquake Cake! There are so many ways you can mix things up and make it your own. For starters, if you’re a fan of white chocolate, try swapping out the semi-sweet chocolate chips for white chocolate chips or even butterscotch chips. They’ll add a different flavor profile that’s equally delicious!
If you want to change up the peanut butter, you can use crunchy peanut butter for an extra texture boost or even almond butter for a nutty twist. Feeling adventurous? Toss in some chopped nuts like pecans or walnuts into the peanut butter layer for added crunch!
For a seasonal touch, consider adding some pumpkin spice to the cake batter in the fall or a sprinkle of peppermint extract around the holidays. Each variation can bring a new flavor experience, so don’t be afraid to get creative and make this cake uniquely yours!
Serving and Storage Tips
When it comes to serving your Reese’s Peanut Butter Earthquake Cake, I recommend cutting it into generous squares—this cake is rich, so a little goes a long way! It’s perfect for parties, and I love serving it with a scoop of vanilla ice cream on the side for that extra indulgence. Trust me, the cold ice cream complements the warm cake beautifully!
As for leftovers (if there are any, which I doubt!), be sure to store them in an airtight container in the refrigerator. This cake will keep well for about 3 to 4 days. If you want to enjoy it longer, you can freeze individual slices wrapped tightly in plastic wrap and then in foil. They’ll stay fresh for up to 2 months! Just thaw them in the fridge overnight before you dig in again. Enjoy every last crumb!
Helpful Notes
Let’s make sure your Reese’s Peanut Butter Earthquake Cake turns out perfectly! If you’re looking to lighten things up a bit, you can use a sugar substitute in the peanut butter layer, but be cautious, as it can affect the texture. You could also swap the regular chocolate cake mix for a gluten-free version if you want to cater to dietary needs.
For those who prefer less sweetness, consider reducing the amount of powdered sugar in the peanut butter layer—start with 1 cup and adjust to taste. If you want to add a bit of zing, a sprinkle of sea salt on top can elevate the flavors beautifully!
And remember, this cake is super flexible—feel free to play around with the amount of Reese’s you use. More candy means more fun, but you can adjust based on your personal taste! Enjoy this delightful creation, and don’t hesitate to experiment!
Frequently Asked Questions
1. Can I freeze this cake?
Absolutely! You can freeze slices of the Reese’s Peanut Butter Earthquake Cake. Just make sure to wrap them tightly in plastic wrap and then in foil. They’ll stay fresh for about 2 months. Just thaw them in the fridge overnight before enjoying!
2. What if I don’t have creamy peanut butter?
No worries! If you only have chunky peanut butter, go ahead and use that. It’ll add a nice crunch to the cake, and I think it’s a fun twist! Just ensure it’s well mixed with the powdered sugar for a smooth layer.
3. Can I use a different cake mix flavor?
Of course! While chocolate cake is amazing in this recipe, you could definitely use a vanilla or even a funfetti cake mix. Just keep in mind how that might change the overall flavor profile of the cake.
4. How do I know when the cake is fully baked?
The best way to check for doneness is to insert a toothpick into the center of the cake. If it comes out clean or with just a few moist crumbs, you’re good to go! If there’s gooey batter on it, give it a few more minutes.
5. Can I make this cake in advance?
Definitely! You can make the cake a day ahead of your event. Just store it in the refrigerator after it has cooled and top it with whipped topping and chocolate chips right before serving for the best presentation.
Final Thoughts
Wow, I can’t believe how easy and fun it is to whip up this Reese’s Peanut Butter Earthquake Cake! It’s truly a dessert that brings joy to any gathering or simply brightens your day at home. The combination of rich chocolate and creamy peanut butter is nothing short of heavenly, and the delightful crunch of Reese’s throughout makes every bite a little adventure. I wholeheartedly encourage you to give this cake a try—trust me, you won’t regret it! Whether you’re celebrating a special occasion or just indulging on a cozy evening, this cake will surely become a new favorite. So roll up your sleeves, gather your ingredients, and let’s create some delicious memories together!
Print
Reese’s Peanut Butter Earthquake Cake
- Total Time: 50 minutes
- Yield: 12 servings 1x
- Diet: Vegetarian
Description
This Reese’s Peanut Butter Earthquake Cake is a delicious dessert that combines chocolate cake with creamy peanut butter and Reese’s treats.
Ingredients
- 1 box chocolate cake mix
- Ingredients required for cake mix (usually eggs, oil, and water)
- 1 jar (16 oz) creamy peanut butter
- 2 cups powdered sugar
- 1 cup crushed Reese’s peanut butter cups
- 1 cup mini Reese’s peanut butter cups, chopped
- 1 tub (8 oz) whipped topping (like Cool Whip)
- 1 cup semi-sweet chocolate chips
- 2 tablespoons butter
- 1/4 cup heavy cream
Instructions
- Preheat your oven according to cake mix instructions.
- Prepare the chocolate cake mix as directed on the box.
- In a separate bowl, mix peanut butter and powdered sugar until smooth.
- Pour half of the cake batter into a greased baking dish.
- Spread the peanut butter mixture over the cake batter.
- Add the remaining cake batter on top of the peanut butter layer.
- Sprinkle crushed and chopped Reese’s on top.
- Melt butter and mix with heavy cream; drizzle over the cake.
- Bake according to cake mix instructions until a toothpick comes out clean.
- Let cool, then top with whipped topping and chocolate chips.
Notes
- Store leftovers in the refrigerator.
- For a richer flavor, use dark chocolate chips.
- Adjust the amount of Reese’s to your preference.
- Prep Time: 20 minutes
- Cook Time: 30 minutes
- Category: Dessert
- Method: Baking
- Cuisine: American
Nutrition
- Serving Size: 1 slice
- Calories: 450
- Sugar: 35g
- Sodium: 250mg
- Fat: 25g
- Saturated Fat: 10g
- Unsaturated Fat: 12g
- Trans Fat: 0g
- Carbohydrates: 50g
- Fiber: 2g
- Protein: 6g
- Cholesterol: 30mg
Keywords: Reese’s Peanut Butter Earthquake Cake, chocolate cake, peanut butter dessert
