
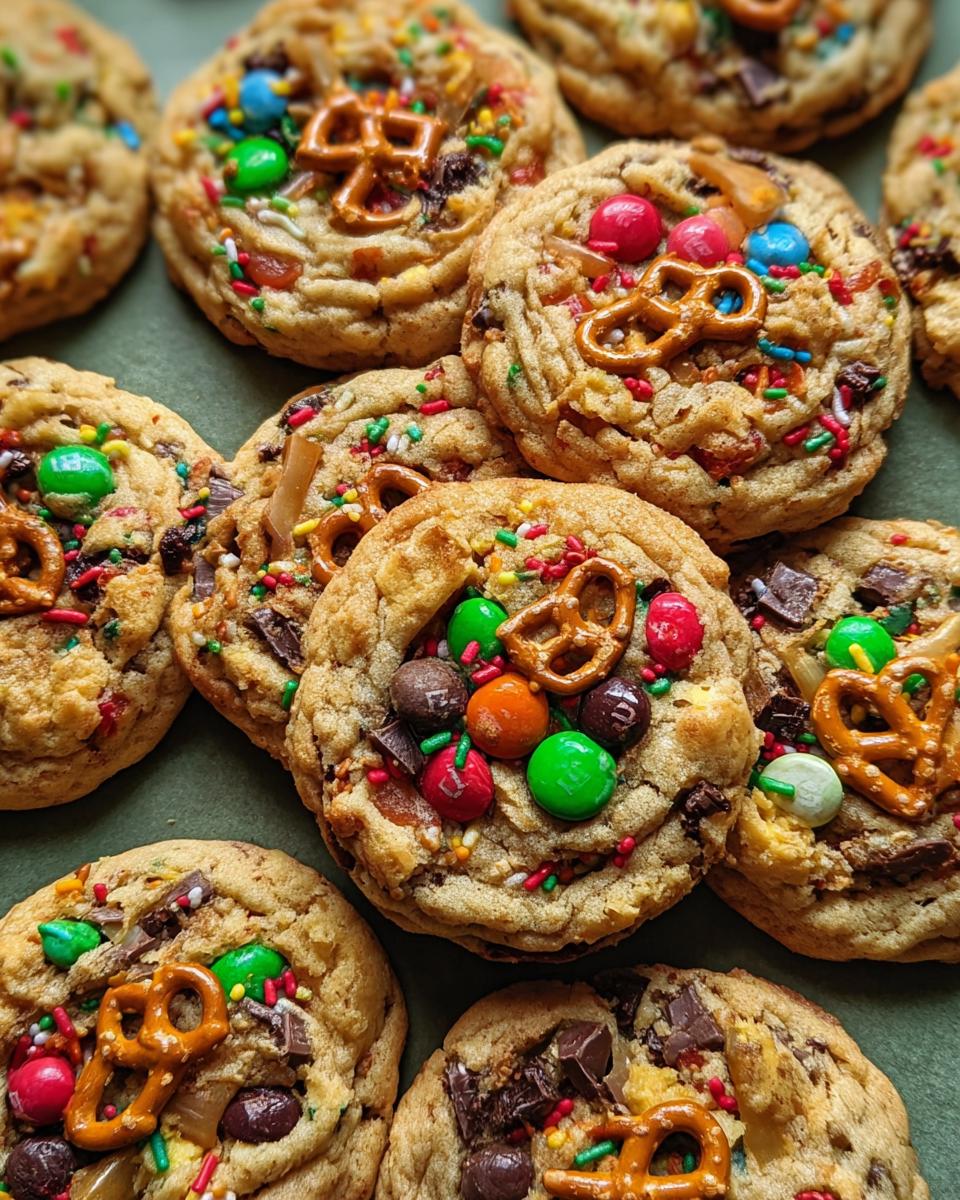
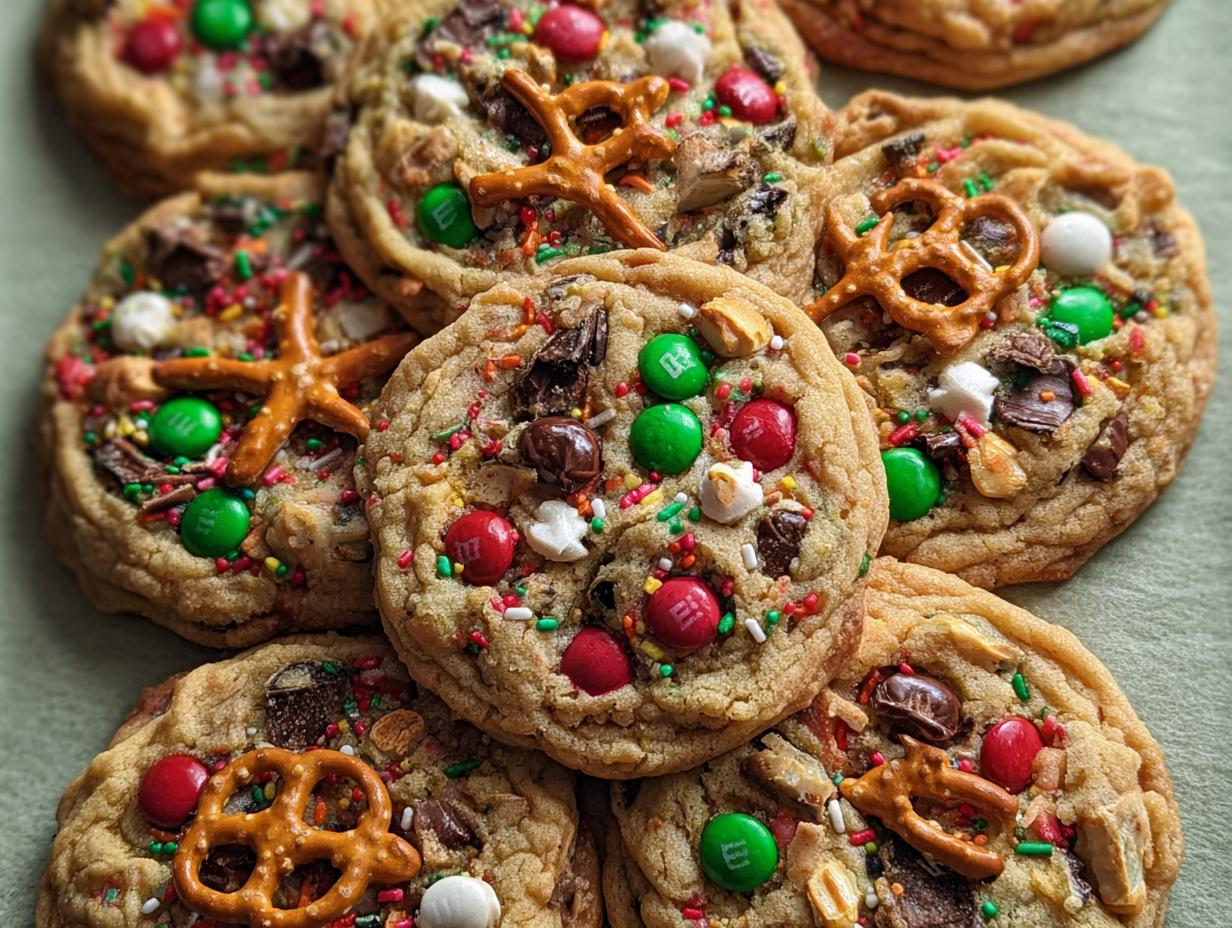
Ah, Christmas Kitchen Sink Cookies! Just the name makes my heart flutter with joy. I can’t help but think of the many cozy evenings spent baking these delightful treats with my family. The aroma of melting chocolate, sweet caramel, and a hint of vanilla fills the air, wrapping us in a warm hug. Every bite bursts with a medley of flavors and textures that remind me of the chaotic yet loving spirit of the holiday season.
These cookies are perfect for sharing with friends and family or even leaving out for Santa (he’ll love them!). They’re a sweet reminder that the best moments in life often come from mixing a little bit of everything together. Trust me, once you take that first bite, you’ll be swept away into a holiday bliss that’ll keep you coming back for more!
Why You’ll Love Christmas Kitchen Sink Cookies
Okay, let me tell you why these Christmas Kitchen Sink Cookies are an absolute must-bake this season! First off, they’re the ultimate blend of sweet and salty — think chocolate chunks mingling with crunchy pretzels and a touch of caramel. It’s like a party in your mouth, and who doesn’t love a good party?
Another fantastic thing about these cookies is their versatility. You can throw in whatever mix-ins your heart desires! Got some leftover candy from Halloween? Toss it in! Want to sneak in some nuts for a little crunch? Go for it! Plus, they’re super easy to make, which means you’ll have more time to enjoy the holiday festivities. And let’s not forget about the joy of sharing them! They make for the perfect gift or treat to take to a holiday gathering. Everyone will be raving about them, and you’ll be the star of the cookie exchange! Wow, right?
So whether you’re baking with kiddos or whipping up a batch for your friends, these cookies are sure to bring smiles and warmth to your holiday celebrations!
Ingredients You’ll Need
- 1 cup (2 sticks) unsalted butter, softened to room temperature – This is the base of our cookies, adding that rich, creamy goodness.
- ¾ cup light brown sugar – For that deep, molasses-like flavor that balances everything out perfectly.
- ¾ cup granulated sugar – Just the right amount of sweetness to make these cookies pop!
- 2 teaspoons vanilla extract – Trust me, this is what makes your kitchen smell like a holiday dream.
- 2 large eggs – They’ll help bind everything together and give the cookies a lovely texture.
- 2 ½ cups all-purpose flour – The foundation of the cookies, ensuring they hold their shape.
- ½ teaspoon baking soda – This little guy adds a nice lift to the cookies.
- 1 teaspoon baking powder – Perfect for that extra fluffiness!
- ½ teaspoon salt – A pinch of salt enhances all the flavors, making them sing.
- ½ cup mini pretzels – For that delightful crunch and salty touch.
- ½ cup potato chips, lightly crushed – Yes, you read that right! They add an unexpected crunch and saltiness.
- ½ cup chewy caramels, quartered – Sweet little nuggets of joy that melt in your mouth.
- ¾ cup dark chocolate chunks – Because chocolate makes everything better, right?
- ½ cup chopped salted peanuts – A wonderful nutty crunch that complements the sweetness.
- ½ cup holiday M&Ms – Bright and festive, these give a fun pop of color!
- ¼ cup holiday sprinkles – The perfect finishing touch to make these cookies extra special.
Step-by-Step Instructions
Prepping Your Oven and Mixing Ingredients
First things first, let’s get that oven ready! Preheat it to 350°F (175°C). This is super important for perfect cookie texture, so don’t skip this step! While the oven is warming up, grab a large mixing bowl and cream together 1 cup of softened unsalted butter, ¾ cup of light brown sugar, and ¾ cup of granulated sugar. Use a hand mixer or stand mixer on medium speed for about 2-3 minutes until the mixture is light and fluffy. It should look like a sugary cloud of happiness!
Combining Dry and Wet Ingredients
Now it’s time to mix the dry ingredients! In a separate bowl, whisk together 2 ½ cups of all-purpose flour, ½ teaspoon of baking soda, 1 teaspoon of baking powder, and ½ teaspoon of salt. Make sure everything is evenly combined. Once that’s done, add 2 teaspoons of vanilla extract and 2 large eggs to your butter and sugar mixture. Mix until everything is well blended. Then, gradually add in your dry ingredients, stirring gently until just combined. Don’t overmix — we want those cookies to be tender!
Adding Your Mix-Ins
Now comes the fun part — the mix-ins! With a spatula, gently fold in ½ cup of mini pretzels, ½ cup of lightly crushed potato chips, ½ cup of quartered chewy caramels, ¾ cup of dark chocolate chunks, ½ cup of chopped salted peanuts, ½ cup of holiday M&Ms, and ¼ cup of holiday sprinkles. This is where your cookies really come to life, so get creative! Feel free to adjust the amounts based on what you love. It’s all about personalizing your holiday treat!
Baking and Cooling the Cookies
Once your dough is ready, drop spoonfuls onto a baking sheet lined with parchment paper, spacing them about 2 inches apart. Pop them in the oven and bake for 10-12 minutes or until the edges are golden brown. The centers might look a little soft, but don’t worry, they’ll firm up as they cool! After taking them out, let the cookies sit on the baking sheet for about 5 minutes before transferring them to a wire rack to cool completely. Oh, the smell wafting through your kitchen is heavenly! Enjoy the anticipation — soon you’ll be indulging in these delicious cookies!
Variations
One of the best things about Christmas Kitchen Sink Cookies is how easily you can customize them to match your tastes or whatever you have on hand! Feeling a little nutty? Swap out the salted peanuts for some chopped almonds or pecans for a different crunch. If you’re a coconut lover, toss in some shredded coconut to add a tropical twist. Yum!
For those who want to add a fruity flair, consider mixing in some dried cranberries or chopped dried apricots — they’ll bring a lovely sweetness that pairs beautifully with the salty elements. And if you’re not a fan of dark chocolate, feel free to use milk chocolate or even white chocolate chips. You could even go wild and create a s’mores-inspired cookie by replacing the pretzels with graham cracker crumbs and adding mini marshmallows. Wow, right?
Don’t hesitate to experiment with spices, too! A sprinkle of cinnamon or a dash of nutmeg can give your cookies that extra holiday warmth. The possibilities are endless, and that’s what makes baking these cookies so much fun! So gather your favorite mix-ins, and let your creativity shine this holiday season!
Serving and Storage Tips
When it comes to serving your Christmas Kitchen Sink Cookies, the options are delightful! They’re perfect for holiday gatherings, cookie exchanges, or just cozy nights in with a warm cup of cocoa. Serve them fresh out of the oven for that gooey chocolate goodness, or let them cool completely for a classic cookie experience. Either way, they’re sure to impress!
Now, let’s talk storage. To keep your cookies fresh, store them in an airtight container at room temperature. They should last about a week, but trust me, they’ll probably be gone long before then! If you want to keep them even longer, these cookies freeze beautifully. Just stack them in a freezer-safe bag or container, and they’ll be good for up to three months. When you’re ready to enjoy them again, simply thaw at room temperature or pop them in the microwave for a few seconds. Easy peasy!
Helpful Notes
Before you dive into baking, here are some handy tips to make your Christmas Kitchen Sink Cookies even more delightful! If you find your dough a bit too sticky, don’t panic! Just sprinkle in a little extra flour until it reaches a manageable consistency. Also, if you want to make these cookies a bit lighter, you can substitute half of the butter with unsweetened applesauce — it works wonders while keeping them delicious!
For a fun twist, try using flavored chips like peppermint or butterscotch instead of chocolate. And remember, if you’re looking to make these cookies gluten-free, just swap out the all-purpose flour for a gluten-free flour blend. They’ll still be packed with all that holiday joy! Baking should be fun, so don’t be afraid to experiment and make this recipe your own. Happy baking!
Frequently Asked Questions
1. Can I freeze these cookies?
Absolutely! These Christmas Kitchen Sink Cookies freeze wonderfully. Just make sure to store them in an airtight container or a freezer-safe bag, and they’ll last for up to three months. When you’re ready to enjoy them, let them thaw at room temperature or pop them in the microwave for a few seconds to warm them up!
2. What if I don’t have a specific mix-in?
Don’t worry! One of the best things about these cookies is their flexibility. If you’re missing an ingredient, simply substitute it with something similar or leave it out entirely. For instance, if you don’t have pretzels, you could use crushed crackers or just add more chocolate. Get creative!
3. Can I make these cookies dairy-free?
Yes! You can substitute the unsalted butter with a dairy-free alternative, like coconut oil or a dairy-free butter spread. Just make sure to check the labels to ensure they’re suitable for your dietary needs. They’ll still taste delicious!
4. How can I make these cookies less sweet?
If you find the mix of sugars a bit much, you can reduce the amount of granulated sugar or brown sugar by about a quarter cup. You might miss a bit of that sweetness, but the salty mix-ins will still shine through!
5. My cookies spread too much while baking. What happened?
This can happen if the butter is too soft or the dough isn’t chilled. To prevent this, make sure to cream the butter and sugars just until fluffy and consider chilling the dough for about 30 minutes before baking. It helps the cookies hold their shape better!
Final Thoughts
So there you have it — my beloved Christmas Kitchen Sink Cookies! I truly hope you give this recipe a try because it’s not just about baking; it’s about creating those heartwarming moments that make the holiday season so special. Imagine the smiles on your loved ones’ faces as they bite into these colorful, crunchy, and oh-so-delicious cookies.
Whether you’re sharing them at a holiday party or enjoying them cozied up with a cup of cocoa, these cookies are bound to spread joy and warmth. So roll up your sleeves, get those ingredients ready, and let the holiday baking magic begin! Remember, the best cookies are made with love, so sprinkle a little extra joy into every batch. Happy baking and merry moments to you and yours!
Print
Christmas Kitchen Sink Cookies
- Total Time: 27 minutes
- Yield: 24 cookies 1x
- Diet: Vegetarian
Description
A delightful mix of sweet and salty treats in one cookie.
Ingredients
- 1 cup (2 sticks) unsalted butter, softened to room temperature
- ¾ cup light brown sugar
- ¾ cup granulated sugar
- 2 teaspoons vanilla extract
- 2 large eggs
- 2 ½ cups all-purpose flour
- ½ teaspoon baking soda
- 1 teaspoon baking powder
- ½ teaspoon salt
- ½ cup mini pretzels
- ½ cup potato chips, lightly crushed
- ½ cup chewy caramels, quartered
- ¾ cup dark chocolate chunks
- ½ cup chopped salted peanuts
- ½ cup holiday M&Ms
- ¼ cup holiday sprinkles
Instructions
- Preheat your oven to 350°F (175°C).
- In a large bowl, cream together the softened butter, light brown sugar, and granulated sugar.
- Add the vanilla extract and eggs, mixing until well combined.
- In a separate bowl, whisk together the flour, baking soda, baking powder, and salt.
- Gradually add the dry ingredients to the wet mixture, stirring until just combined.
- Fold in the mini pretzels, potato chips, caramels, dark chocolate chunks, peanuts, holiday M&Ms, and sprinkles.
- Drop spoonfuls of the dough onto a baking sheet lined with parchment paper.
- Bake for 10-12 minutes or until the edges are golden.
- Let cool on the baking sheet for a few minutes before transferring to a wire rack.
Notes
- Store cookies in an airtight container.
- Feel free to customize the mix-ins to your liking.
- These cookies freeze well for up to three months.
- Prep Time: 15 minutes
- Cook Time: 12 minutes
- Category: Dessert
- Method: Baking
- Cuisine: American
Nutrition
- Serving Size: 1 cookie
- Calories: 150
- Sugar: 10g
- Sodium: 100mg
- Fat: 7g
- Saturated Fat: 4g
- Unsaturated Fat: 2g
- Trans Fat: 0g
- Carbohydrates: 20g
- Fiber: 1g
- Protein: 2g
- Cholesterol: 20mg
Keywords: Christmas Kitchen Sink Cookies
