
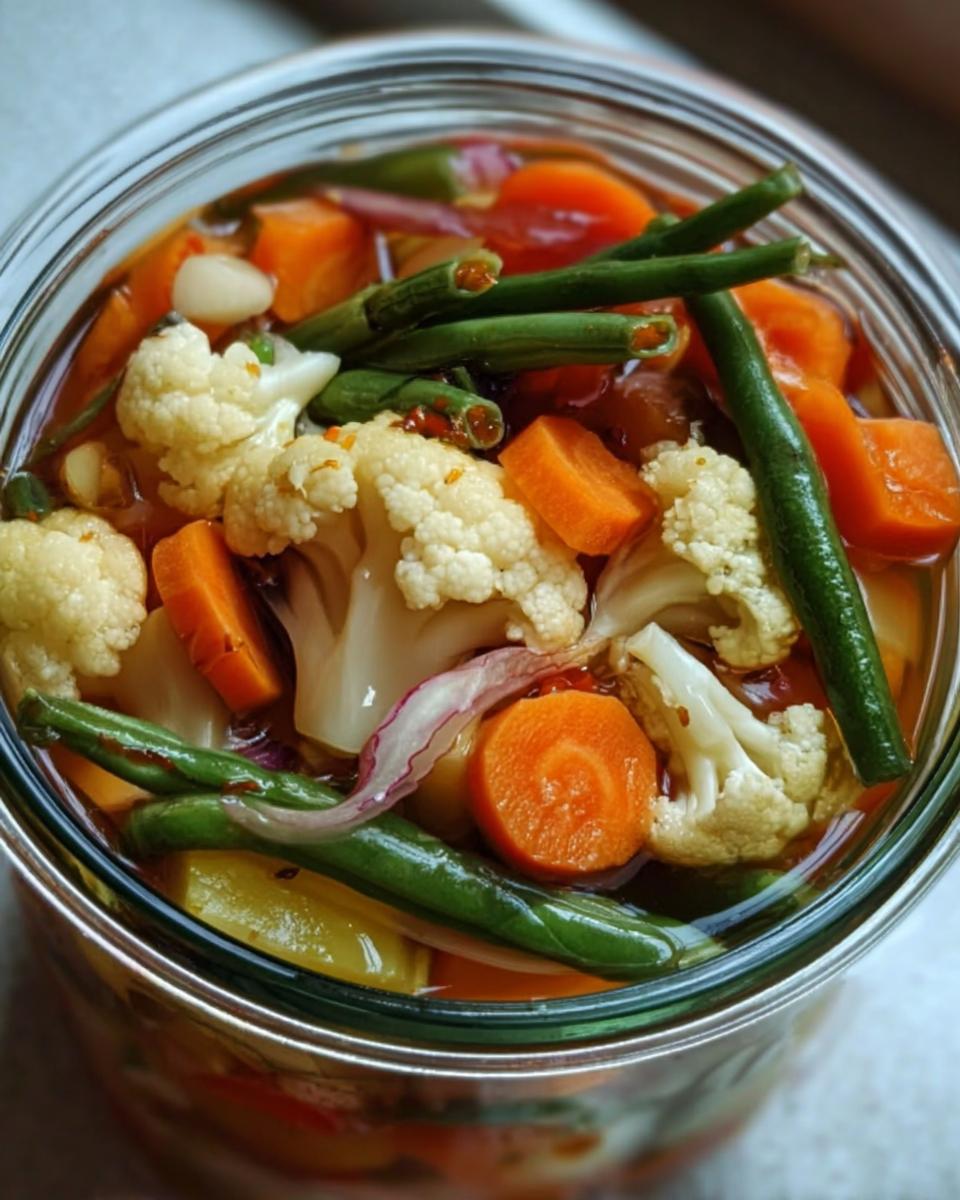
Growing up, my grandmother always had a jar of Refrigerator Pickled Vegetables ready in her fridge, a burst of color and crunch that brightened any meal. The tangy aroma would fill her kitchen, wrapping us in a comforting embrace as we gathered around the table. This simple, quick recipe is a delightful way to preserve the fresh flavors of your favorite vegetables, making it perfect for snacking or as a side dish. It’s a little reminder of home that brings joy to every bite.
What Is Refrigerator Pickled Vegetables?
Refrigerator Pickled Vegetables are a quick and easy way to enjoy a crunchy and tangy snack or side dish. This method preserves the vibrant flavors and textures of fresh vegetables while infusing them with a delightful brine. With minimal effort, you can whip up a batch that’s perfect for any meal or gathering.
- Prep Time: 15 minutes
- Cook Time: 10 minutes
- Total Time: 25 minutes
- Servings: 4 jars
Why You’ll Love Refrigerator Pickled Vegetables
- Quick Preparation: This recipe takes just 25 minutes, making it easy to whip up anytime.
- Simple Ingredients: With fresh vegetables and pantry staples, you can create a delicious treat without any fuss.
- Beginner-Friendly: It’s a straightforward process that anyone can master, ideal for novice cooks.
- Perfect for Gatherings: These colorful pickles add a delightful crunch to any meal, making them a hit at holidays and parties.
- Make-Ahead Convenience: You can prepare a batch in advance and enjoy them for weeks, keeping your snacks ready to go.
Ingredients You’ll Need
- Fresh Vegetables: 1 cup crisp cauliflower florets
- 1 cup sliced carrots: cut into coins
- 1 cup sliced cucumbers: about 1/4-inch thick
- 1 red bell pepper: sliced
- 1 cup fresh green beans: trimmed
- Flavor Boosters: 2 cloves garlic, minced
- 1 tablespoon mustard seeds
- 1 tablespoon whole black peppercorns
- 1/2 teaspoon red pepper flakes: optional for added heat
- Brine Base: 1 cup white vinegar (5% acidity)
- 1 cup water
- 2 tablespoons kosher or pickling salt
- 1 tablespoon sugar: for a hint of sweetness
Feel free to substitute any of the vegetables with your favorites like bell peppers, radishes, or even zucchini. Using fresh, high-quality produce will give you the best flavor. If you prefer a milder version, you can reduce or omit the red pepper flakes entirely.
Step-by-Step Instructions
Preparing the Ingredients
- Start by washing all your fresh vegetables under cold water to remove any dirt or impurities.
- Cut the cauliflower into small florets, making sure they are bite-sized.
- Slice the carrots into coins, ensuring they are evenly sized for consistent pickling.
- Slice the cucumbers into 1/4-inch thick rounds for the perfect crunch.
- Trim the ends of the green beans, keeping them whole for a lovely presentation.
- Finally, slice the red bell pepper into strips.
Making the Brine
- In a medium-sized pot, combine 1 cup of white vinegar, 1 cup of water, 2 tablespoons of kosher salt, and 1 tablespoon of sugar.
- Heat the mixture over medium heat, stirring occasionally until the salt and sugar fully dissolve.
- Take a moment to enjoy the tangy aroma that fills your kitchen — it’s a prelude to the delicious pickles ahead!
Adding Flavor Boosters
- Once the brine is ready, remove the pot from heat.
- Add 2 cloves of minced garlic, 1 tablespoon of mustard seeds, 1 tablespoon of whole black peppercorns, and if you like it spicy, toss in 1/2 teaspoon of red pepper flakes.
- Stir everything together, allowing the flavors to meld as it cools slightly.
Packing the Jars
- Grab your clean jars and start packing the prepared vegetables in tightly but without crushing them.
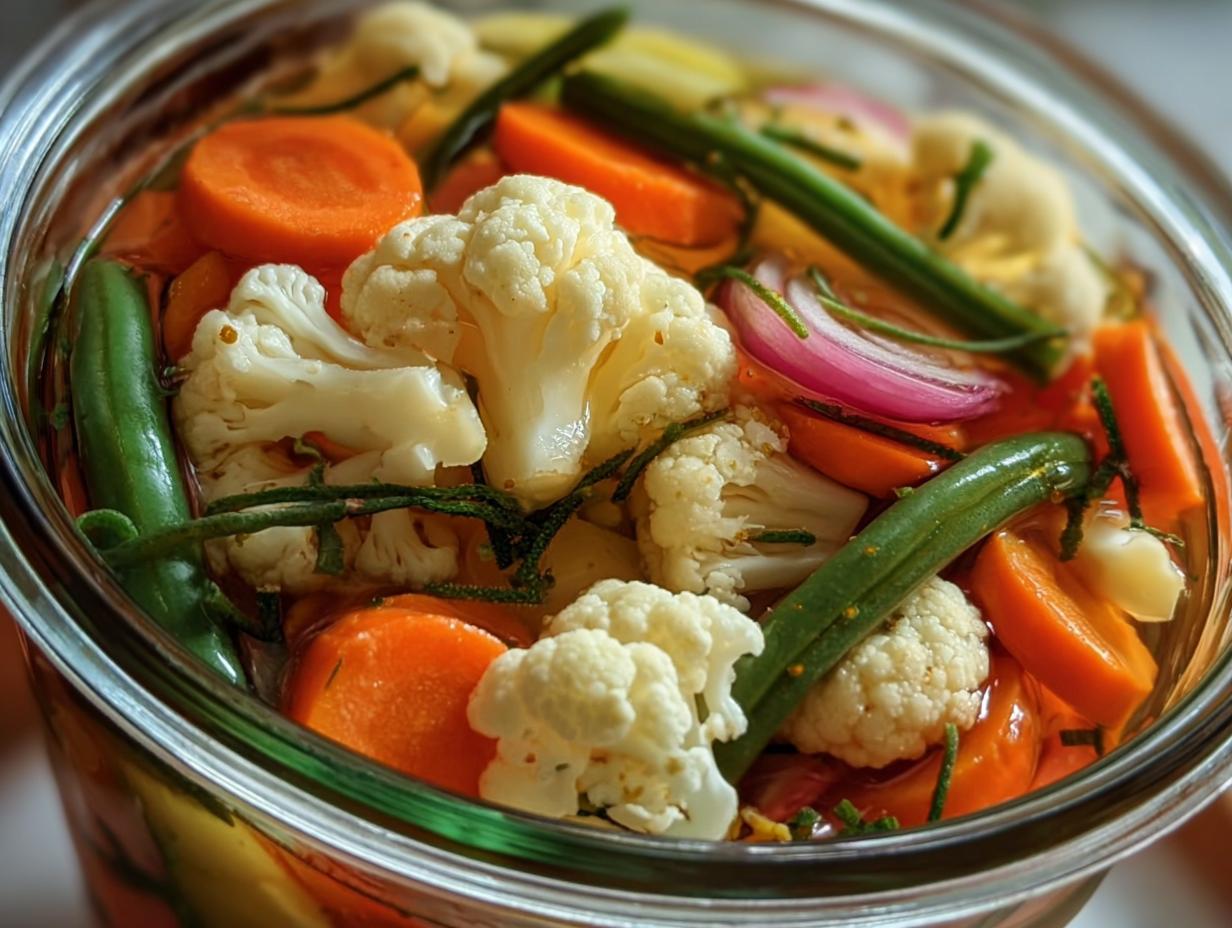
- Layer the vegetables for a beautiful presentation: start with the cauliflower, followed by carrots, cucumbers, green beans, and bell pepper.
- Leave a little space at the top of each jar to allow the brine to fully cover the vegetables.
Pouring the Brine
- Carefully pour the hot brine over the packed vegetables in each jar, ensuring they are fully submerged.
- Use a spoon to gently press down any floating pieces if needed.
- Wipe the rims of the jars with a clean cloth to ensure a good seal.
Cooling and Refrigerating
- Seal each jar with its lid tightly.
- Allow the jars to cool to room temperature on the counter — this usually takes about 30 minutes.
- Once cooled, place the jars in the refrigerator and let them sit for at least 24 hours before enjoying. This resting time allows the flavors to develop beautifully.
Variations
- Add a splash of lemon juice or zest for a refreshing citrus twist.
- Incorporate seasonal vegetables like radishes in spring or pickled beets in fall.
- Try adding fresh herbs like dill or thyme for an aromatic touch.
- Experiment with different vinegars, such as apple cider or rice vinegar, for unique flavors.
- For a sweeter profile, include sliced apples or pears in the mix.
Serving and Storage Tips
Serving
These Refrigerator Pickled Vegetables are perfect as a crunchy snack or a vibrant side dish. Serve them alongside grilled meats, add them to sandwiches for extra flavor, or toss them into salads for a delightful crunch. They also make a great addition to a charcuterie board!
Storage
Store your pickled vegetables in the refrigerator for up to 3 weeks. Make sure the jars are sealed tightly to maintain freshness. For longer storage, you can freeze the vegetables, but note that the texture may change once thawed.
Common Mistakes
- Not using enough salt: Salt is essential for flavor and preservation; don’t skimp on it.
- Ignoring the cooling time: Allowing the brine to cool before pouring helps prevent cooking the vegetables.
- Packing jars too tightly: Leave space for the brine to circulate, ensuring even pickling.
- Skipping the 24-hour wait: Give the flavors time to develop for the best taste experience.
Helpful Notes
- Substitute vegetables based on your preference; bell peppers, radishes, or zucchini work beautifully.
- For a gluten-free option, ensure the vinegar and salt are certified gluten-free.
- Add a teaspoon of turmeric for a warm color and additional health benefits.
- To reduce sodium, use less salt and rinse the vegetables before pickling.
- Consider adding sliced jalapeños for an extra kick!
Frequently Asked Questions
Can the recipe be frozen?
Yes, you can freeze the pickled vegetables, but keep in mind that the texture may change once thawed. It’s best to enjoy them fresh for the best crunch.
Can ingredients be substituted?
Absolutely! Feel free to swap in your favorite vegetables like bell peppers, radishes, or even asparagus. Just ensure they are fresh and suitable for pickling.
How to store leftovers?
Store your pickled vegetables in the refrigerator, tightly sealed, for up to 3 weeks. Always check for freshness before consuming.
Can the recipe be made ahead?
Yes, this recipe is perfect for making ahead! The flavors develop beautifully after 24 hours in the refrigerator, and you can enjoy them for weeks to come.
Final Thoughts
There’s something truly special about making Refrigerator Pickled Vegetables at home. They bring a burst of color and a delightful crunch to your meals, making every bite a little celebration. I encourage you to gather your favorite vegetables and enjoy the simple pleasure of pickling. Share these vibrant jars with family and friends, and watch as they become a beloved addition to your gatherings. Enjoy the experience, and may each jar remind you of the warmth of home and the joy of shared meals!
Print
Refrigerator Pickled Vegetables
- Total Time: 25 minutes
- Yield: 4 jars
- Diet: Vegetarian
Description
Refrigerator Pickled Vegetables offer a crunchy and tangy snack or side dish. This quick pickling method preserves the fresh flavors of your favorite vegetables.
Ingredients
- Fresh Vegetables: crisp cauliflower florets
- sliced carrots (coins)
- sliced cucumbers (about 1/4-inch thick)
- red bell pepper, sliced
- fresh green beans, trimmed
- Flavor Boosters: garlic, minced
- mustard seeds
- whole black peppercorns
- red pepper flakes (optional)
- Brine Base: white vinegar (5% acidity)
- water
- kosher or pickling salt
- sugar
Instructions
- Prepare the vegetables by washing and cutting them as needed.
- In a pot, combine white vinegar, water, kosher salt, and sugar. Heat until the salt and sugar dissolve.
- Add garlic, mustard seeds, black peppercorns, and red pepper flakes to the brine.
- Place the prepared vegetables in clean jars.
- Pour the hot brine over the vegetables, ensuring they are fully submerged.
- Seal the jars and let them cool to room temperature.
- Refrigerate for at least 24 hours before enjoying.
Notes
- Use a variety of vegetables for different flavors.
- Adjust the spice level by adding more or less red pepper flakes.
- The pickles can last for several weeks in the refrigerator.
- Prep Time: 15 minutes
- Cook Time: 10 minutes
- Category: Condiment
- Method: Refrigeration
- Cuisine: American
Nutrition
- Serving Size: 1 jar
- Calories: 50
- Sugar: 5g
- Sodium: 300mg
- Fat: 0g
- Saturated Fat: 0g
- Unsaturated Fat: 0g
- Trans Fat: 0g
- Carbohydrates: 12g
- Fiber: 2g
- Protein: 1g
- Cholesterol: 0mg
Keywords: Refrigerator Pickled Vegetables, quick pickles, homemade pickles
