
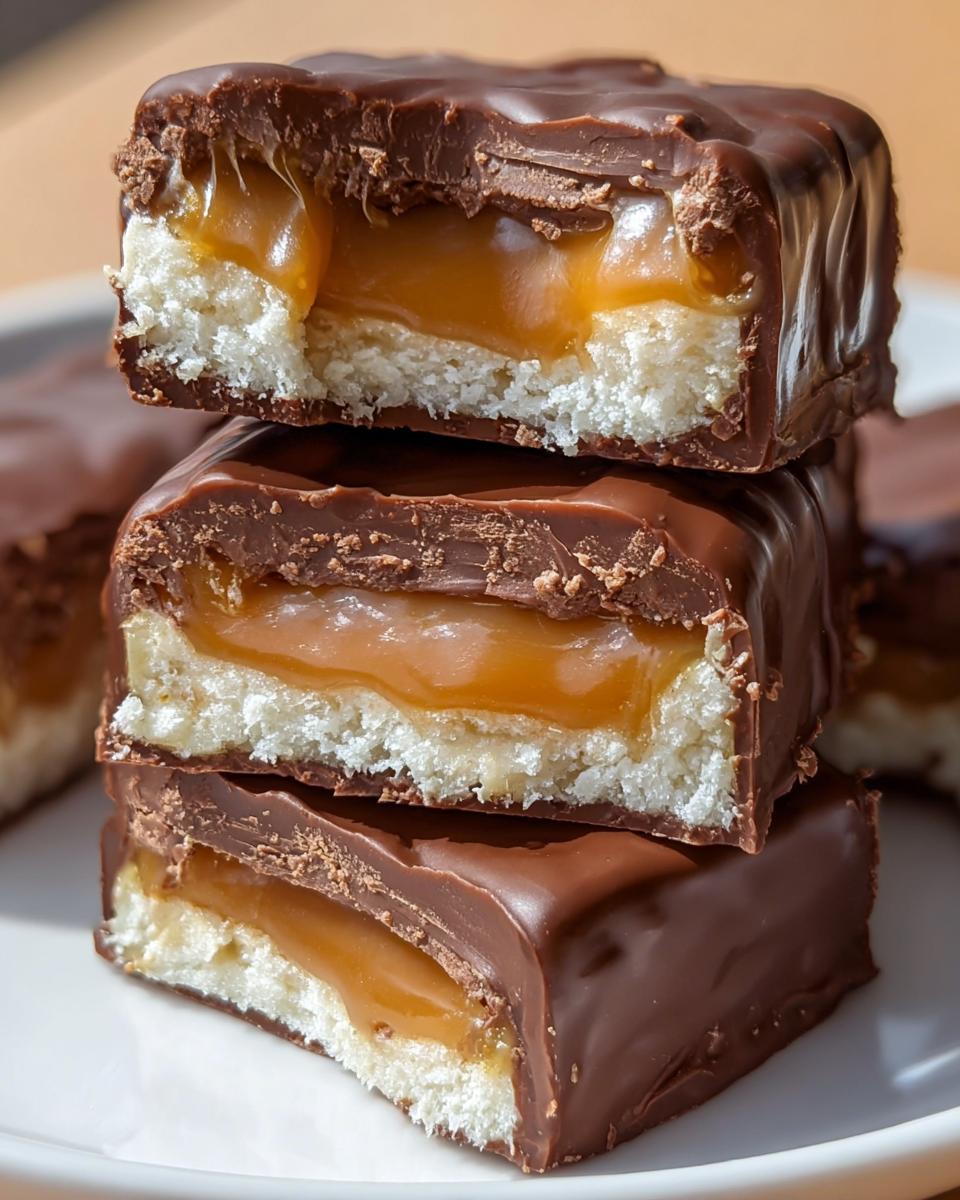
Welcome, sweet treat enthusiasts! Today, I’m super excited to share with you my twist on a classic favorite: Homemade Milky Way Bars Treat. There’s something so nostalgic about biting into a smooth, chocolatey bar that’s filled with rich nougat and gooey caramel. It takes me back to my childhood, when I’d eagerly unwrap a store-bought Milky Way, savoring every bite. But let me tell you, making these at home is not only possible, but it’s also incredibly fun and satisfying!
These homemade bars are perfect for any occasion, whether you’re hosting a party, celebrating a birthday, or just treating yourself after a long week. The best part? They’re surprisingly easy to whip up! With just a few simple ingredients and no baking required, you’ll find yourself indulging in a deliciously sweet treat that’s bound to impress your family and friends. So, let’s roll up our sleeves and dive into making these delightful Homemade Milky Way Bars Treat!
Why You’ll Love Homemade Milky Way Bars Treat
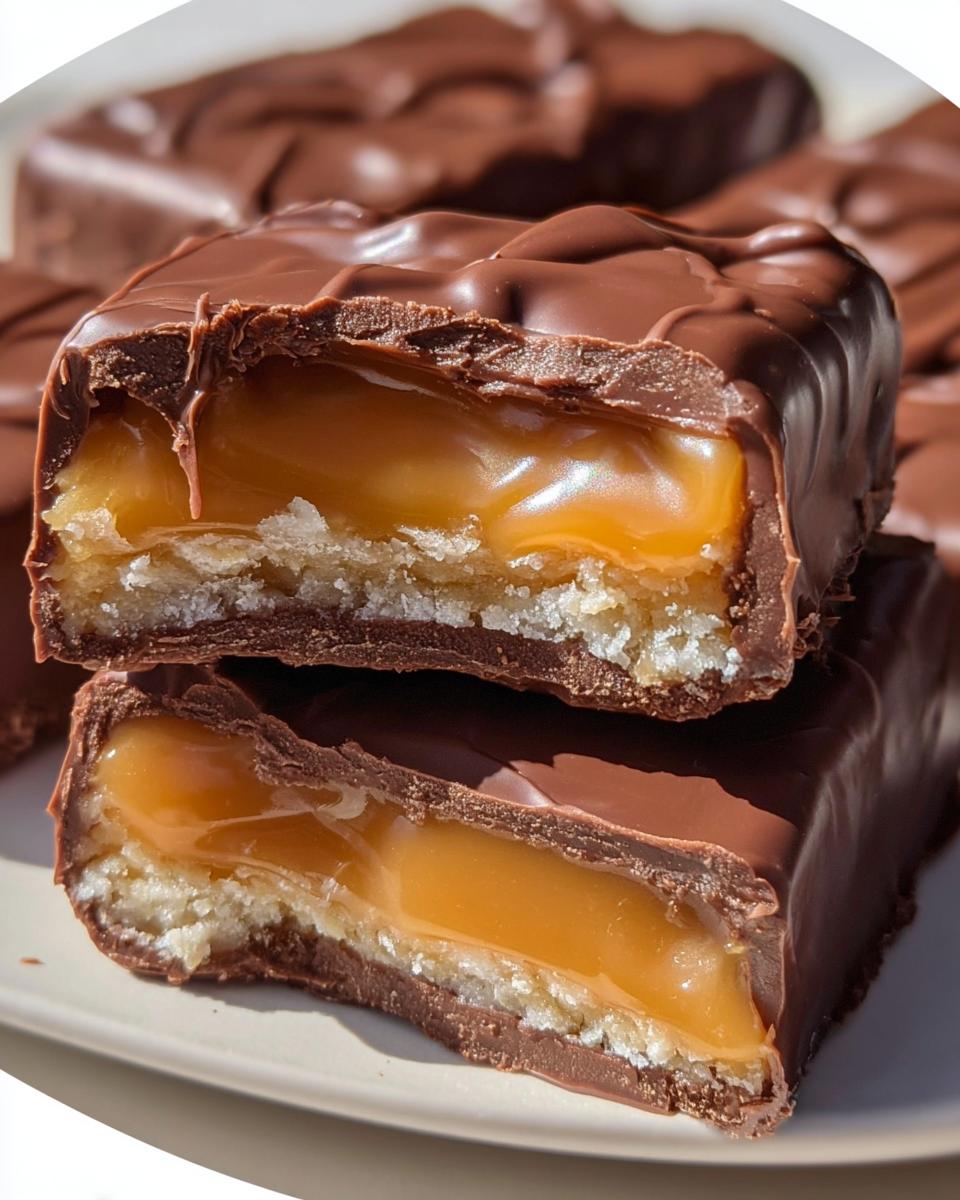
Oh my goodness, where do I even start? These Homemade Milky Way Bars Treat are a total game-changer! First off, they’re just so incredibly delicious. Each bite is a heavenly combination of smooth chocolate, fluffy nougat, and luscious caramel that melts in your mouth. Seriously, it’s like a party for your taste buds!
And let me tell you, there’s something magical about making these treats from scratch. The joy of biting into a homemade version of a classic candy bar is just unmatched! Plus, you can customize them however you like – maybe throw in some nuts or a sprinkle of sea salt for that extra flair. They’re perfect for sharing with friends, impressing family at gatherings, or even just keeping all to yourself (I won’t tell!). So, if you’re looking for a sweet treat that’s easy to make and packed with nostalgia, trust me, these bars are where it’s at!
Ingredients You’ll Need
Making these Homemade Milky Way Bars Treat is as enjoyable as eating them, and the best part is gathering the ingredients! Here’s what you’ll need to create your own delightful batch:
Nougat Layer Ingredients
- 2 cups milk chocolate chips: I love using brands like Ghirardelli or Nestlé for their rich flavor. You can also use chocolate melting wafers if you prefer.
- 1 cup marshmallow fluff: This fluffy goodness is essential for that perfect nougat texture. If you can’t find fluff, marshmallow crème works just as well!
- ¼ cup sweetened condensed milk: This adds a delicious creaminess to the nougat. Make sure it’s sweetened — it’s what makes these bars so sinfully good!
Caramel Layer Ingredients
- 1 bag (11 oz / 311 g) soft caramels: I recommend using Kraft or Werther’s soft caramels. Make sure they’re soft enough for easy melting!
- 2 tbsp heavy cream: This helps the caramel melt down to a smooth, pourable consistency. You can substitute it with half-and-half if you’re in a pinch, but heavy cream gives the best results.
Chocolate Coating Ingredients
- 3 cups milk chocolate chips: Again, I’m a fan of Ghirardelli or Nestlé here! You could also use semi-sweet chocolate if you like a richer flavor.
- 2 tbsp vegetable oil or coconut oil: This helps the chocolate melt smoothly and keeps it shiny! Coconut oil adds a subtle flavor, while vegetable oil is a neutral option.
Step-by-Step Instructions
Alright, let’s get down to the nitty-gritty of making these fabulous Homemade Milky Way Bars Treat! Follow these steps, and you’ll be well on your way to a delicious batch of candy bars that’ll have everyone begging for more!
Preparing the Baking Dish
First things first, grab an 8×8-inch baking dish and line it with parchment paper. This is super important because it not only prevents sticking but also makes it a breeze to lift the bars out later. Just cut a piece of parchment big enough to hang over the edges. It’s like making a little hammock for your bars! Press it down so it fits snugly into the dish.
Making the Nougat Layer
Now, let’s whip up that luscious nougat layer! In a mixing bowl, combine your milk chocolate chips, marshmallow fluff, and sweetened condensed milk. Using a spatula or a mixer, blend everything together until it’s smooth and creamy. You want to make sure there are no lumps because we’re aiming for that silky texture. Don’t be shy—get in there and mix it until it looks like a fluffy cloud of chocolatey goodness!
Adding the Caramel Layer
Next up, it’s time for the caramel! In a saucepan, toss in your soft caramels along with the heavy cream. Set the heat to low and stir gently as the caramels begin to melt. This is crucial—keep it on low heat to avoid burning! You want it to be smooth and pourable, so be patient and stir until it’s all melted together.
Chilling the Layers
Once your nougat layer is spread evenly in the baking dish, pour the melted caramel over the top. Try to spread it out evenly so every bite has that gooey goodness. Now, cover the dish with plastic wrap or foil and pop it in the refrigerator to chill for about 30 minutes. This helps everything set up nicely and makes cutting the bars so much easier later on.
Preparing the Chocolate Coating
While the layers are chilling, let’s prepare the chocolate coating! In a microwave-safe bowl or a double boiler, melt your milk chocolate chips along with the vegetable oil or coconut oil. If you’re using a microwave, heat in 30-second intervals, stirring in between until it’s smooth. I love using the double boiler method because it gives me more control and prevents burning. Just make sure to keep the heat gentle!
Dipping and Setting the Bars
Once everything is chilled and set, it’s time for the fun part! Carefully lift the layered mixture out of the dish using the parchment paper. Place it on a cutting board and slice it into bars—aim for about 12 pieces, but you can make them bigger or smaller, depending on your craving! Now, dip each bar into the melted chocolate, making sure it’s fully coated. Lift it out with a fork, letting any excess chocolate drip off, and place it back on the parchment paper. Repeat until all the bars are dipped! Then, let them set until the chocolate hardens. You can speed this up by popping them back in the fridge for a bit.
Variations
One of the best things about making Homemade Milky Way Bars Treat is the endless possibilities for creative variations! If you want to switch things up a bit, how about adding a pinch of sea salt on top of the caramel layer before chilling? It adds such a delightful contrast to the sweetness!
Feeling adventurous? Try swapping out the milk chocolate for dark chocolate for a richer, more intense flavor. Or, if you’re a peanut butter lover, mix in some creamy peanut butter into the nougat layer for that heavenly combination of chocolate and peanut butter. You could even toss in some chopped nuts or crispy rice cereal for a little crunch!
And for all my friends who love seasonal flavors, consider adding a splash of peppermint extract during the holidays or a drizzle of caramel sauce on top for that extra indulgence. The options are really only limited by your imagination, so don’t hesitate to experiment and make these bars your own!
Serving and Storage Tips
When it comes to serving your Homemade Milky Way Bars Treat, the options are endless! These bars are perfect for parties, so slice them up and arrange them on a beautiful platter. They can be served chilled or at room temperature, making them versatile for any gathering. Trust me, they’ll be the star of the dessert table!
Now, let’s talk storage. To keep your bars fresh and delicious, store them in an airtight container at room temperature for up to a week. If you want to save some for later (if they last that long!), they can also be kept in the fridge for up to two weeks. Just make sure to layer parchment paper between them to prevent sticking. And if you’re feeling extra organized, these bars freeze beautifully! Wrap them individually in plastic wrap and pop them into a freezer bag. They’ll stay fresh for up to three months—perfect for satisfying those late-night sweet cravings!
Helpful Notes
Here are a few of my favorite tips to make your Homemade Milky Way Bars Treat even better! First, ensure your caramels are nice and soft before melting; if they’re a bit hard, you can microwave them for a few seconds to soften them up. When melting chocolate, I highly recommend using a double boiler to prevent burning. It gives you more control and results in a smooth coating. Also, remember to store your bars in an airtight container to keep them fresh. If they’re stacked, use parchment paper in between to avoid sticking. Enjoy the sweet rewards of your hard work!
Frequently Asked Questions
1. Can I freeze these Homemade Milky Way Bars Treat?
Yes! They freeze beautifully. Just wrap them individually in plastic wrap and store them in a freezer bag. They’ll stay fresh for up to three months.
2. What if I don’t have marshmallow fluff?
No worries! You can substitute it with marshmallow crème, and it will work just as well for that fluffy nougat texture.
3. How long do these bars last?
Stored in an airtight container at room temperature, they’ll stay fresh for about a week. In the fridge, they can last up to two weeks!
4. Can I use dark chocolate instead of milk chocolate?
Absolutely! Dark chocolate adds a richer flavor, and it’s a delicious alternative if you prefer it over milk chocolate.
Final Thoughts
So there you have it! I really encourage you to dive into making your own Homemade Milky Way Bars Treat. There’s something incredibly joyful about creating desserts from scratch, and the satisfaction of sharing these with loved ones is priceless. Trust me, you won’t regret it!
Print
Homemade Milky Way Bars Treat
- Total Time: 1 hour
- Yield: 12 bars
- Diet: Vegetarian
Description
Homemade Milky Way Bars Treat
Ingredients
- Nougat Layer: 2 cups milk chocolate chips
- Nougat Layer: 1 cup marshmallow fluff (or marshmallow crème)
- Nougat Layer: ¼ cup sweetened condensed milk
- Caramel Layer: 1 bag (11 oz / 311 g) soft caramels (like Kraft or Werther’s soft)
- Caramel Layer: 2 tbsp heavy cream
- Chocolate Coating: 3 cups milk chocolate chips (or melting wafers)
- Chocolate Coating: 2 tbsp vegetable oil or coconut oil
Instructions
- Prepare a baking dish by lining it with parchment paper.
- In a bowl, combine milk chocolate chips, marshmallow fluff, and sweetened condensed milk. Mix until smooth to create the nougat layer.
- Spread the nougat mixture evenly in the prepared dish.
- In a saucepan, melt the soft caramels with heavy cream over low heat until smooth. Pour over the nougat layer.
- Chill the layered mixture in the refrigerator until set, about 30 minutes.
- For the chocolate coating, melt milk chocolate chips with vegetable oil until smooth.
- Remove the chilled layers from the dish and cut into bars. Dip each bar into the melted chocolate and place on parchment paper to set.
- Let the chocolate coating harden before serving.
Notes
- Ensure the caramel is soft for easy melting.
- Use a double boiler for melting chocolate to avoid burning.
- Store bars in an airtight container to keep fresh.
- Prep Time: 20 minutes
- Cook Time: 15 minutes
- Category: Dessert
- Method: No-bake
- Cuisine: American
Nutrition
- Serving Size: 1 bar
- Calories: 250
- Sugar: 25g
- Sodium: 30mg
- Fat: 12g
- Saturated Fat: 7g
- Unsaturated Fat: 3g
- Trans Fat: 0g
- Carbohydrates: 34g
- Fiber: 1g
- Protein: 2g
- Cholesterol: 5mg
Keywords: Homemade Milky Way Bars Treat, dessert, candy, chocolate
