
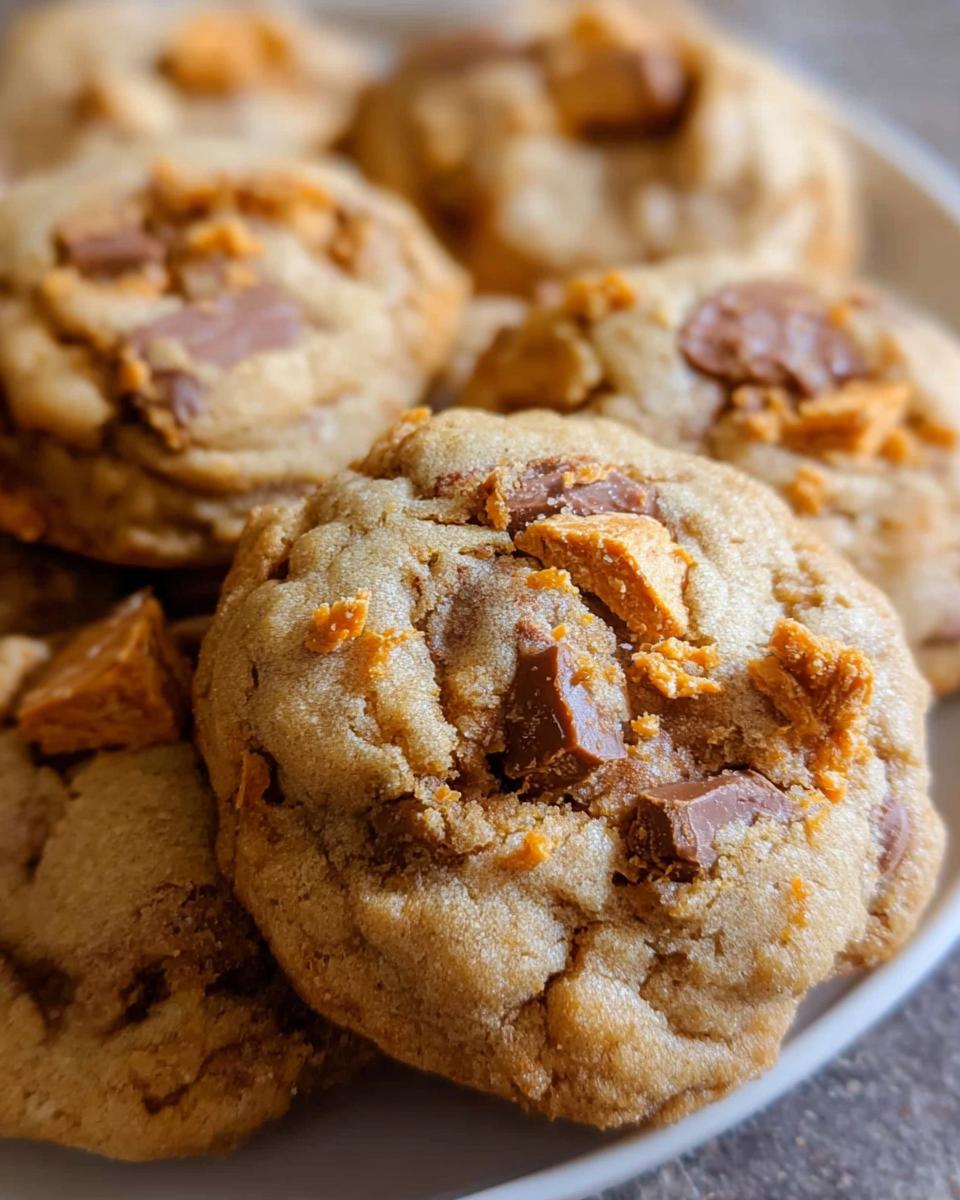
Oh my goodness, let me tell you about my absolute favorite indulgence: Peanut Butter Butterfinger Cookies! I still remember the first time I made them. It was a cozy Saturday afternoon, and I had a craving for something sweet and salty. I stumbled upon this recipe and thought, “Why not?” I was blown away by how simple it was, and the combination of peanut butter and those crunchy Butterfinger pieces just took me to cookie heaven!
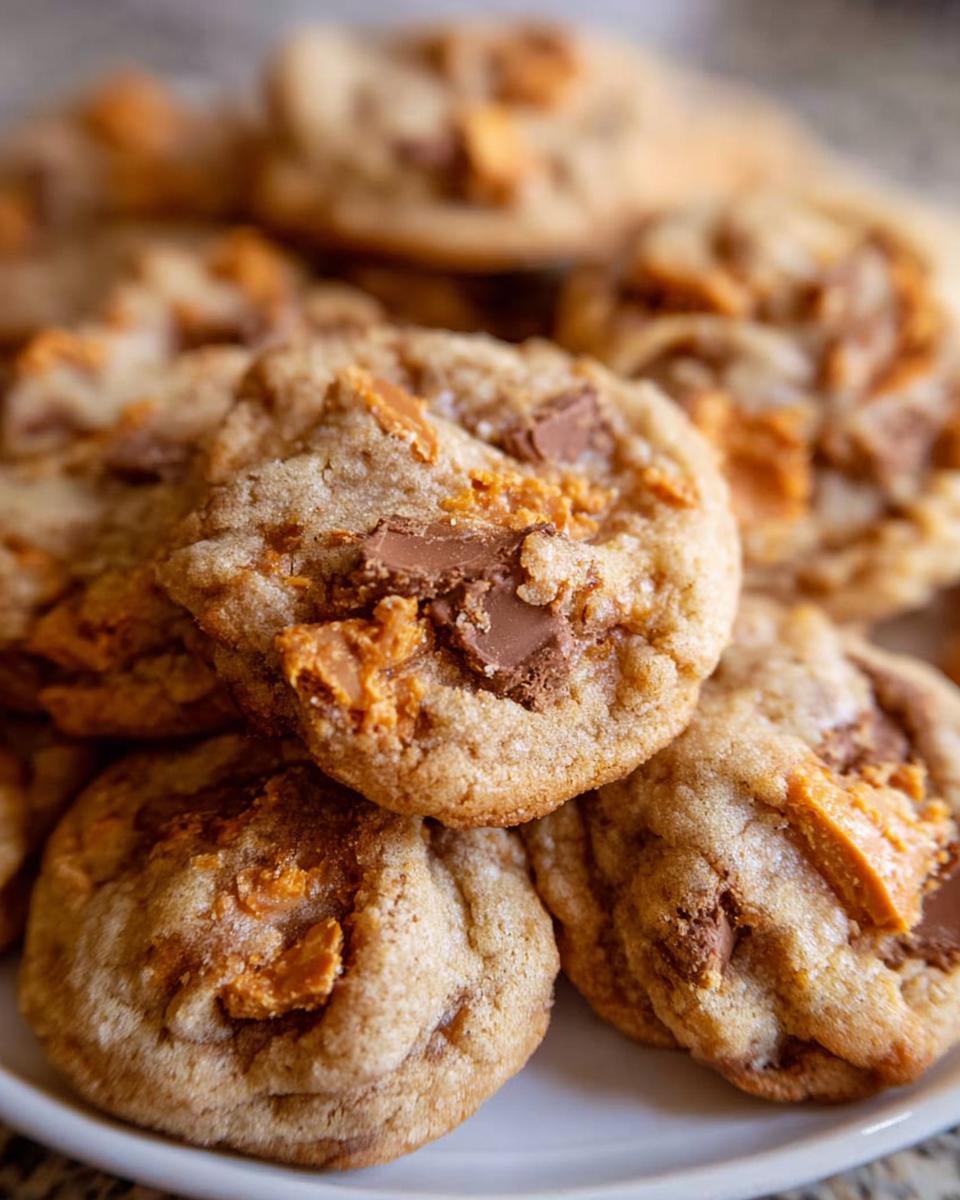
These cookies are perfect for just about any occasion—whether you’re baking for a bake sale, bringing treats to a party, or simply wanting to treat yourself after a long day. They’re soft, chewy, and have that delightful buttery crunch that makes every bite a joy. Trust me, once you take a bite, there’s no going back! You’ll be making these again and again, just like I do!
Why You’ll Love Peanut Butter Butterfinger Cookies
Let me share why these Peanut Butter Butterfinger Cookies are a true delight! First off, the flavor combination is simply unbeatable. You’ve got that rich, creamy peanut butter mixed with the sweet crunch of Butterfinger, creating a taste explosion in every bite. It’s like a party in your mouth!
Next, the texture is just heavenly. These cookies come out soft and chewy on the inside with a slight crisp on the edges. And the Butterfinger pieces? Oh wow, they add that perfect crunch that keeps you coming back for more! You’ll find yourself savoring each cookie, enjoying the mix of soft dough and the delightful little bits of candy.
But the best part? Baking these cookies is a joy in itself! The aroma of peanut butter wafting through your kitchen will make your heart sing. And trust me, watching your friends and family light up as they take their first bite is the icing on the cake—or, in this case, the cookie! You’ll definitely want to whip up a batch (or two) of these soon!
Ingredients You’ll Need
- 3/4 cup butter, softened (1 and 1/2 sticks): This is what gives your cookies that rich, buttery flavor. Make sure it’s softened to room temperature for easy mixing!
- 1/2 cup granulated sugar: This adds sweetness and helps with the cookie’s texture. You can use a bit less if you prefer a less sweet cookie.
- 1/2 cup brown sugar, packed: Brown sugar brings a lovely caramel flavor and moisture to the cookies. Don’t forget to pack it tightly into the measuring cup!
- 1 cup peanut butter: Use creamy peanut butter for the best results—trust me, it makes a difference! Avoid natural peanut butter; we want that smooth, sweet flavor here.
- 1 large egg: This binds everything together and adds richness. Make sure it’s at room temperature for better mixing.
- 1 & 1/2 teaspoons vanilla: Pure vanilla extract is the way to go. It enhances all the flavors and adds warmth to the cookies.
- 1 & 1/2 cups all-purpose flour, spooned and leveled: For the perfect cookie structure, spoon the flour into your measuring cup and level it off with a knife.
- 1/2 teaspoon baking soda: This helps the cookies rise a bit and gives them a lighter texture.
- 1/2 teaspoon baking powder: Paired with the baking soda, this ensures your cookies are perfectly fluffy.
- 1/4 teaspoon kosher salt: A little salt balances out the sweetness and enhances the overall flavor.
- 16 ounces Butterfinger, chopped: This is the star of the show! Chop your Butterfinger bars into small pieces, so you get that crunchy, chocolatey goodness in every bite.
Step-by-Step Instructions
Preparing the Dough
Let’s get started on making these heavenly cookies! First, preheat your oven to 350°F (175°C). This is super important because we want those cookies to bake perfectly. In a large mixing bowl, cream together the softened butter, granulated sugar, and brown sugar. You’ll want to mix them for about 2-3 minutes until it looks light and fluffy. Trust me, this step is crucial for that dreamy texture! Next, add the creamy peanut butter, large egg, and vanilla extract to the bowl. Mix everything together until it’s well combined and smooth—this should take another minute or so.
Adding the Dry Ingredients
Now, it’s time to bring in the dry ingredients! In a separate bowl, whisk together the all-purpose flour, baking soda, baking powder, and kosher salt. This ensures everything is evenly distributed and helps with the rise. Slowly add the dry mixture to the wet ingredients—do this gradually, about a third at a time. Mix it on low speed or by hand until just combined. Don’t over-mix! You want to see a few flour streaks; it’ll all come together in the next step. The dough should be nice and thick, perfect for holding those delicious Butterfinger pieces!
Folding in Butterfinger Pieces
Here comes the fun part! Grab your chopped Butterfinger pieces and gently fold them into the dough using a spatula. You want to make sure they’re evenly distributed throughout the cookie dough, but be careful not to over-mix. Just a few gentle folds should do the trick! You’ll see those glorious bits of chocolate and crunchy peanut butter candy peeking through, and it’s going to be hard to resist the urge to eat the dough right then and there!
Baking the Cookies
Now, let’s get those cookies in the oven! Using a tablespoon or a cookie scoop, drop rounded tablespoons of dough onto a baking sheet lined with parchment paper, leaving a bit of space between each cookie because they will spread. Bake them for 10-12 minutes, or until they’re golden brown around the edges but still slightly soft in the center. Here’s a little tip: if you want chewier cookies, take them out towards the 10-minute mark. Once baked, let them cool on the baking sheet for about 5 minutes before transferring them to a wire rack to cool completely. This will help them set perfectly, so they’re soft and delicious when you take that first bite!
Variations
One of the best things about these Peanut Butter Butterfinger Cookies is how easily you can customize them to suit your taste or the season! For a chocolate lover’s dream, try mixing in some semi-sweet chocolate chips along with the Butterfinger pieces. The combination of rich chocolate and peanut butter is simply divine!
If you’re feeling adventurous, how about adding a sprinkle of sea salt on top before baking? It gives that sweet and salty contrast a boost and takes the flavor to a whole new level. You can also swap out the Butterfinger for other candies—Reese’s Pieces, Snickers, or even M&M’s work wonderfully, too. If you’re trying to make these cookies a bit healthier, consider using whole wheat flour instead of all-purpose flour for a nuttier flavor and added nutrition. For more healthy baking tips, check out healthy recipes.
And for those who need a nut-free version, you can use sunflower seed butter instead of peanut butter. Just be sure to check that your Butterfinger is nut-free, too! These little tweaks can make your cookies uniquely yours, and I promise, they’ll still turn out delicious every single time!
Serving and Storage Tips
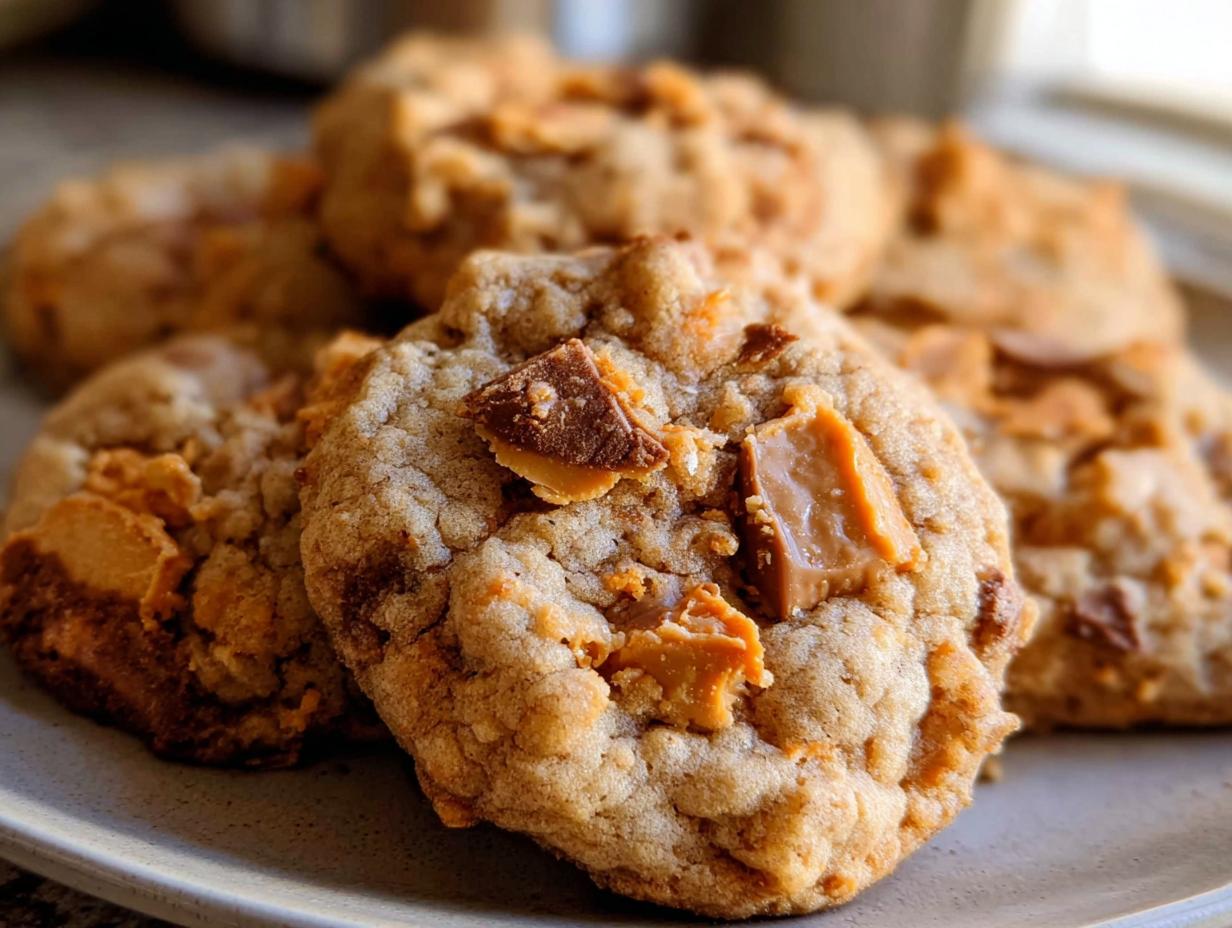
When it comes to serving these Peanut Butter Butterfinger Cookies, the options are endless! They’re perfect as a sweet treat for a cozy movie night, a delightful addition to a dessert platter at a party, or just as a little pick-me-up with your afternoon coffee. I love serving them warm, right out of the oven, with a glass of cold milk. The combination of warm cookies and cold milk is just heavenly!
Now, let’s talk about storage because you’ll want to keep these cookies fresh for as long as possible. Once they’ve cooled completely, store them in an airtight container at room temperature. They’ll stay fresh for about 5-7 days—if they last that long! If you want to keep them longer, you can freeze them. Just make sure to layer them with parchment paper in a freezer-safe bag or container to prevent sticking. They’ll last in the freezer for up to 3 months. When you’re ready to enjoy, just thaw them at room temperature or pop them in the microwave for a few seconds to bring back that fresh-baked taste. Trust me, your future self will thank you for having these delicious cookies on hand!
Helpful Notes
Before you dive into baking these Peanut Butter Butterfinger Cookies, here are some additional tips to ensure your cookies turn out perfectly every time! First, make sure your butter is truly softened. If you forget to take it out ahead of time, you can cut it into small pieces and microwave it for just a few seconds—be careful not to melt it!
If you want to make these cookies gluten-free, feel free to substitute the all-purpose flour with a 1:1 gluten-free baking blend. Just double-check that your baking powder and other ingredients are also gluten-free. For more gluten-free options, explore our gluten-free recipes.
For a lower sugar option, you can reduce the granulated sugar by 1/4 cup and replace it with a sugar substitute like Stevia or monk fruit sweetener, but do keep in mind that this may change the texture slightly. You can learn more about sugar substitutes from resources like the FDA.
Lastly, if you want to jazz up your cookies even more, consider adding in some chopped nuts for an extra crunch—peanuts would be a perfect match! And remember, the cookies will continue to firm up as they cool, so don’t worry if they seem a little soft when you take them out of the oven. Happy baking!
Frequently Asked Questions
1. Can I freeze these cookies?
Absolutely! These Peanut Butter Butterfinger Cookies freeze beautifully. Just make sure they’re completely cooled, then layer them with parchment paper in an airtight container or a freezer-safe bag. They’ll stay fresh for up to 3 months. When you’re ready to enjoy, simply thaw them at room temperature or warm them in the microwave for a few seconds.
2. What if I don’t have Butterfinger candy?
Don’t worry at all! You can swap out the Butterfinger for other candies like Reese’s Pieces, Snickers, or even chocolate chips. Each will give your cookies a unique twist while still keeping that delicious peanut butter flavor intact.
3. How do I make these cookies gluten-free?
Great question! To make these cookies gluten-free, just replace the all-purpose flour with a 1:1 gluten-free baking blend. Be sure to check that your other ingredients, like baking powder, are also gluten-free.
4. Can I use natural peanut butter?
While you can technically use natural peanut butter, I highly recommend sticking to creamy peanut butter for this recipe. Natural peanut butter has a different consistency and can affect the texture of your cookies. You want that smooth, sweet flavor that comes from traditional peanut butter!
5. What’s the best way to store the cookies?
Once your cookies are completely cool, store them in an airtight container at room temperature. They’ll stay fresh for about 5-7 days. If you want to keep them longer, freezing is the way to go!
Final Thoughts
I truly hope you give these Peanut Butter Butterfinger Cookies a try! They’re not just cookies; they’re little bites of happiness that can brighten your day. Whether you’re enjoying them fresh out of the oven or sharing them at gatherings, they’re bound to bring smiles all around. Don’t be surprised if you find yourself reaching for just one more—trust me, it’s hard to resist!
And I’d love to hear about your baking adventures! Feel free to share your experiences or any fun twists you come up with. Baking is all about creativity and joy, so let’s inspire each other in the kitchen! Happy baking, my friend, and enjoy every delicious bite!
Print
Peanut Butter Butterfinger Cookies That Will Delight You
- Total Time: 27 minutes
- Yield: 24 cookies 1x
- Diet: Vegetarian
Description
Delicious Peanut Butter Butterfinger Cookies with a crunchy twist.
Ingredients
- 3/4 cup butter, softened (1 and 1/2 sticks)
- 1/2 cup granulated sugar
- 1/2 cup brown sugar, packed
- 1 cup peanut butter, don’t use natural pb
- 1 large egg
- 1 & 1/2 teaspoons vanilla
- 1 & 1/2 cups all purpose flour, spooned and leveled
- 1/2 teaspoon baking soda
- 1/2 teaspoon baking powder
- 1/4 teaspoon kosher salt
- 16 ounces butterfinger, chopped
Instructions
- Preheat your oven to 350°F (175°C).
- In a bowl, cream together the softened butter, granulated sugar, and brown sugar until smooth.
- Add the peanut butter, egg, and vanilla. Mix until well combined.
- In another bowl, whisk together the flour, baking soda, baking powder, and salt.
- Gradually add the dry ingredients to the wet ingredients, mixing until just combined.
- Fold in the chopped Butterfinger pieces.
- Drop tablespoons of dough onto a baking sheet lined with parchment paper.
- Bake for 10-12 minutes or until golden brown.
- Let the cookies cool on the baking sheet for a few minutes before transferring to a wire rack to cool completely.
Notes
- Use creamy peanut butter for best results.
- Store cookies in an airtight container.
- For a chewier texture, slightly underbake the cookies.
- Prep Time: 15 minutes
- Cook Time: 12 minutes
- Category: Dessert
- Method: Baking
- Cuisine: American
Nutrition
- Serving Size: 1 cookie
- Calories: 150
- Sugar: 10g
- Sodium: 100mg
- Fat: 8g
- Saturated Fat: 4g
- Unsaturated Fat: 3g
- Trans Fat: 0g
- Carbohydrates: 18g
- Fiber: 1g
- Protein: 3g
- Cholesterol: 20mg
Keywords: Peanut Butter Butterfinger Cookies
