
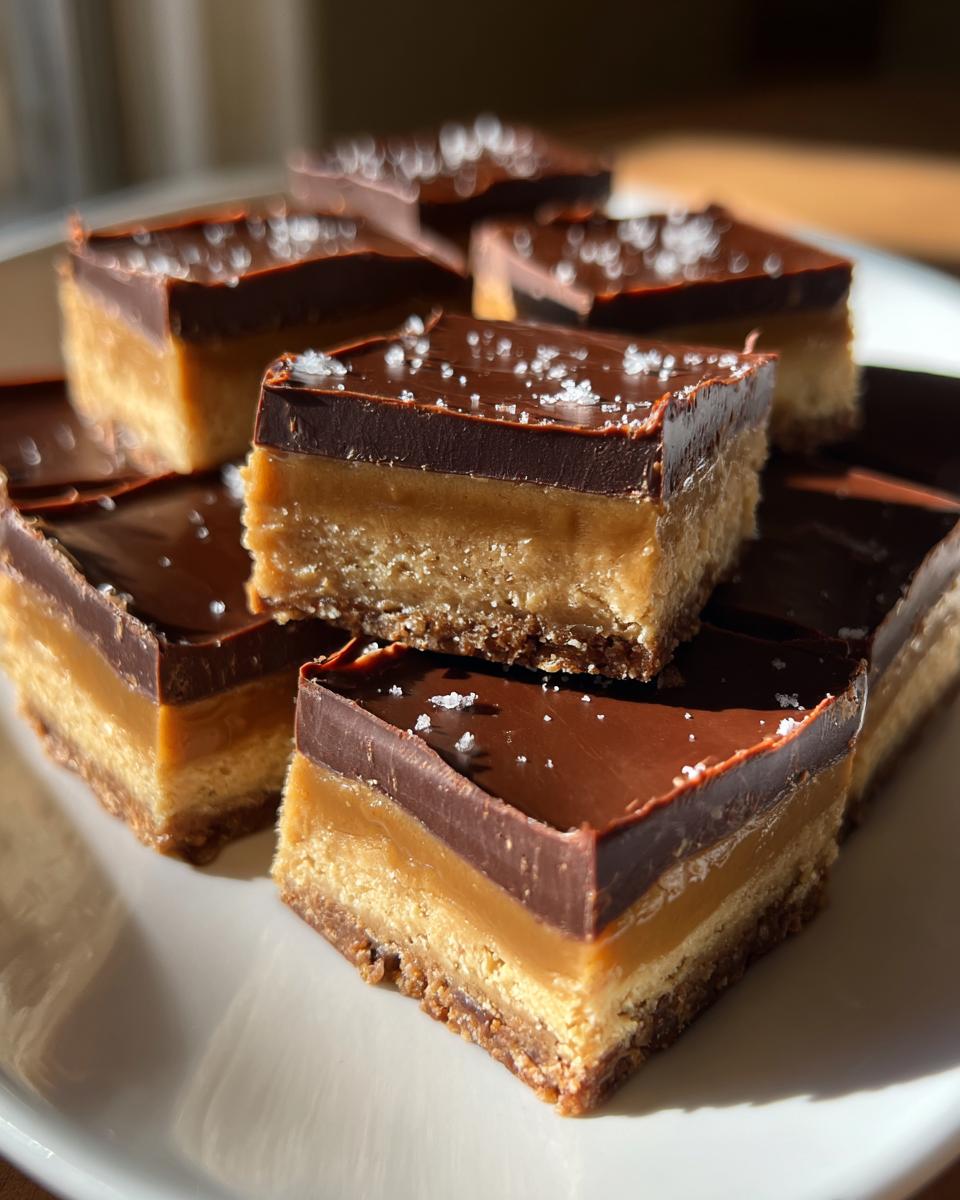
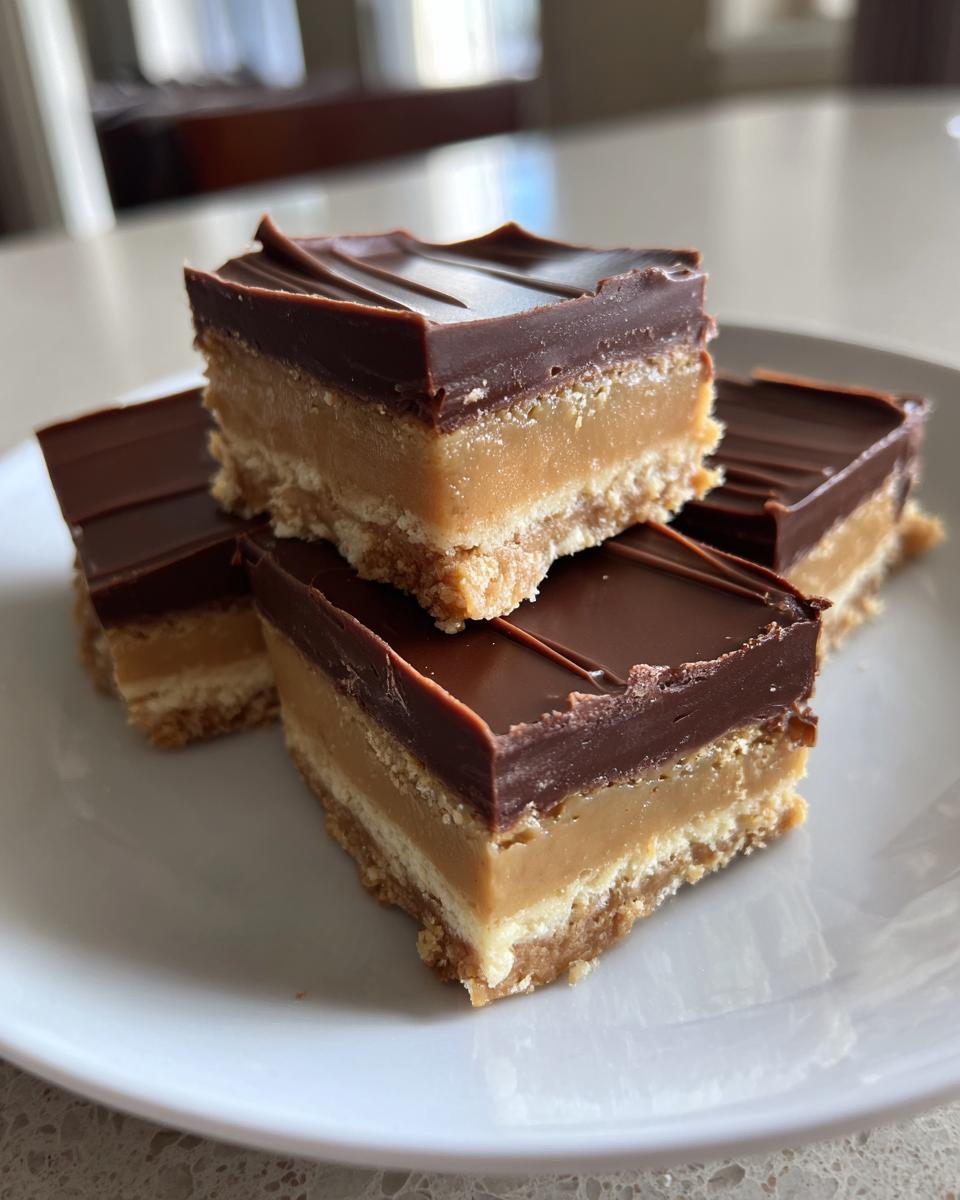
There’s something magical about Disneyland Peanut Butter Squares—that perfect bite of creamy peanut butter hugged by a layer of rich chocolate instantly transports me back to Main Street, U.S.A. I can still smell the sugar in the air and hear the distant laughter from the rides as I’d unwrap these squares from their iconic red and white bakery bags. These treats weren’t just dessert; they were tiny, edible souvenirs of joy.
After years of trying to recreate that nostalgic flavor at home (and more batches than I’d like to admit), I finally cracked the code. The secret? A generous amount of creamy peanut butter mixed with just the right balance of graham cracker crumbs for texture, topped with a glossy chocolate shell that snaps when you bite into it. Trust me, these are the squares Disney fans dream about—and now you can make them in your own kitchen with just a handful of simple ingredients.
Why You’ll Love Disneyland Peanut Butter Squares
Oh my gosh, where do I even start? These peanut butter squares are the kind of dessert that makes people sneak back for seconds (and thirds, no judgment). Here’s why they’re absolutely irresistible:
- No-bake magic: No oven required! Just mix, press, and melt—perfect for those sweltering summer days when you’d rather not turn on the stove.
- Foolproof fun: If you can stir and spread, you’ve got this. My 8-year-old niece helps me make them, and they always turn out amazing.
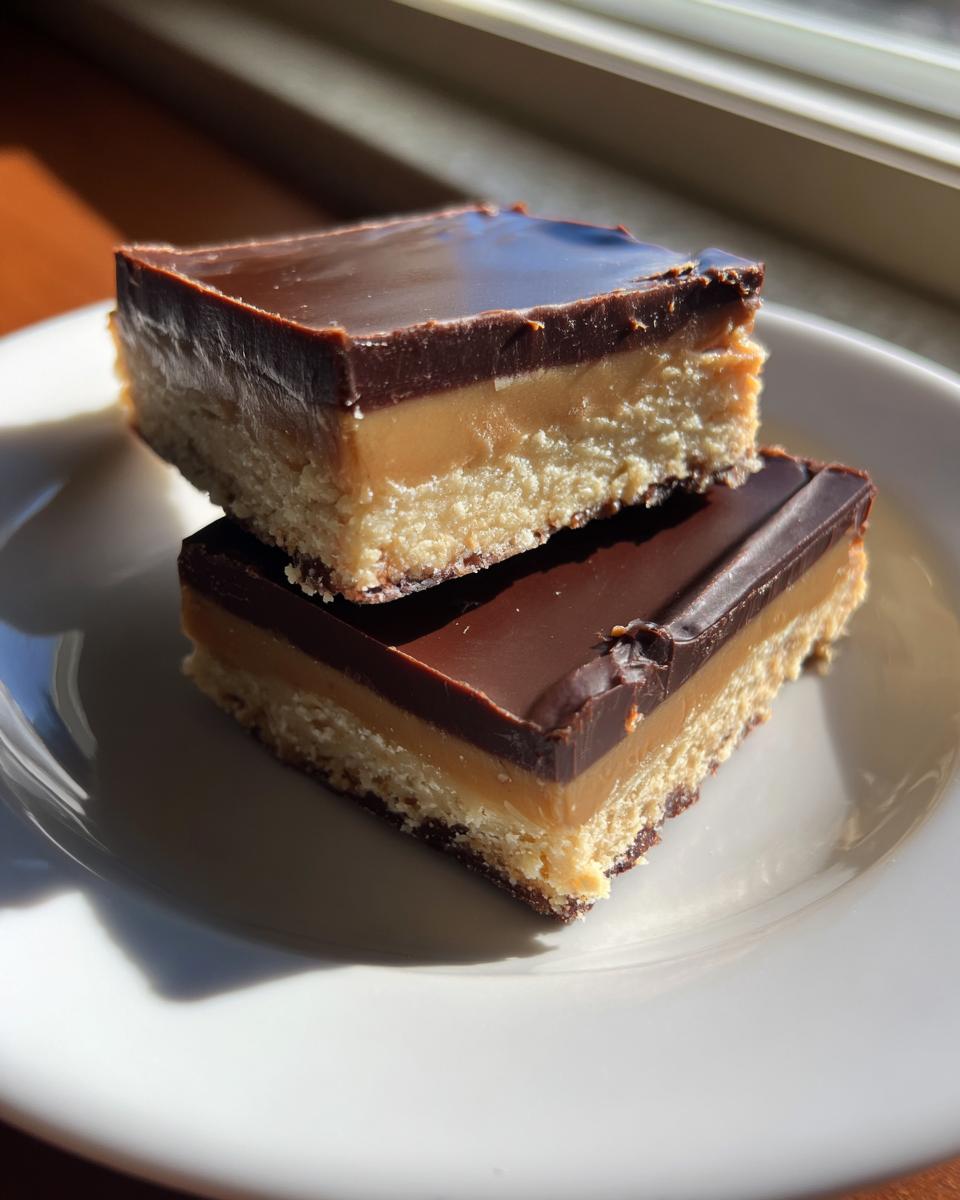
- The ultimate flavor combo: That salty-sweet peanut butter layer against the crackly chocolate topping? Pure bliss. It’s like a Reese’s cup, but fancier and way more shareable.
- Crowd-pleaser alert: I’ve brought these to every potluck since 2012, and the pan always comes home empty. Pro tip: double the batch if you want leftovers!
- Gift-worthy goodness: Stack them in a cute box with parchment paper—instant homemade present that tastes like Disney magic.
Seriously, these squares disappear faster than Mickey Mouse at a meet-and-greet. You’re going to adore them!
Ingredients for Disneyland Peanut Butter Squares
Okay, let’s gather our squad of ingredients – and yes, every single one matters if we want that authentic Disneyland magic! I’ve learned through trial and error (mostly error) that getting these amounts just right makes all the difference between “good” and “oh-my-gosh-I-need-another-piece” good.
The Peanut Butter Base:
- 14 whole graham cracker sheets – crushed into fine crumbs (I use a rolling pin in a ziplock bag – great stress reliever!)
- 2 cups creamy peanut butter – the good stuff, please! I like Jif or Skippy for that perfect smooth texture
- 8 tablespoons butter – that’s 1 stick, softened to room temp (leave it out for 30 minutes – no cheating with the microwave!)
- 2 teaspoons vanilla extract – real vanilla makes the flavors sing
- ½ teaspoon salt – trust me, this tiny bit makes the peanut butter pop
- 3½ cups powdered sugar – sifted if you’re feeling fancy (I never do, and they still turn out perfect)
The Chocolate Topping:
- 4 cups semi-sweet chocolate chips – Ghirardelli or Guittard give that professional-quality shine
- 4 tablespoons shortening – this is our secret weapon for that perfect snap and sheen (Crisco works great)
See? Nothing crazy – just simple ingredients that create pure magic when combined. Now let’s get mixing!
Equipment You’ll Need
Grab these trusty kitchen tools – I promise you probably already have everything! No fancy gadgets required, just the basics:
- 9×13 inch baking dish – metal or glass both work great
- Large mixing bowl – big enough to hold all that peanut butter goodness
- Rubber spatula – for scraping every last bit of that delicious batter
- Microwave-safe bowl – or use a double boiler if you’re feeling fancy
That’s it! See? Told ya it was simple. Now let’s make some magic happen!
How to Make Disneyland Peanut Butter Squares
Alright, let’s make some magic happen! I’ve made these peanut butter squares more times than I can count, and I’ve learned all the little tricks to get them just right. Follow these steps, and you’ll have perfect squares that taste like they came straight from the park!
Preparing the Peanut Butter Layer
- First things first – grab that big mixing bowl and throw in your peanut butter, softened butter, vanilla, and salt. Now, roll up your sleeves and mix it like you mean it! You want this completely smooth and creamy – no butter lumps allowed. I usually mix for a good 2-3 minutes with a sturdy spatula.
Adding Graham Cracker Crumbs
- Time to add our dry ingredients! Gradually mix in the powdered sugar about a cup at a time – this prevents that dreaded powdery cloud explosion (learned that the hard way). Then gently fold in those gorgeous graham cracker crumbs until every last bit is coated in peanut butter goodness. The mixture will be thick – that’s perfect!
Pressing the Base
- Here’s my pro tip: line your 9×13 dish with parchment paper with some overhang – it’ll make removal SO much easier later. Now, dump all that peanut butter mixture in and press it down FIRMLY with your hands (I like to spray them with a little cooking spray first). Really work it into the corners and make it even – this prevents crumbly squares later.
Melting the Chocolate Topping
- For the chocolate, you’ve got options. Microwave method: Combine chips and shortening in a microwave-safe bowl, then heat in 30-second bursts, stirring between each, until silky smooth. Or go old-school with a double boiler if you’re fancy. Either way, don’t overheat it! Burnt chocolate is sad chocolate.
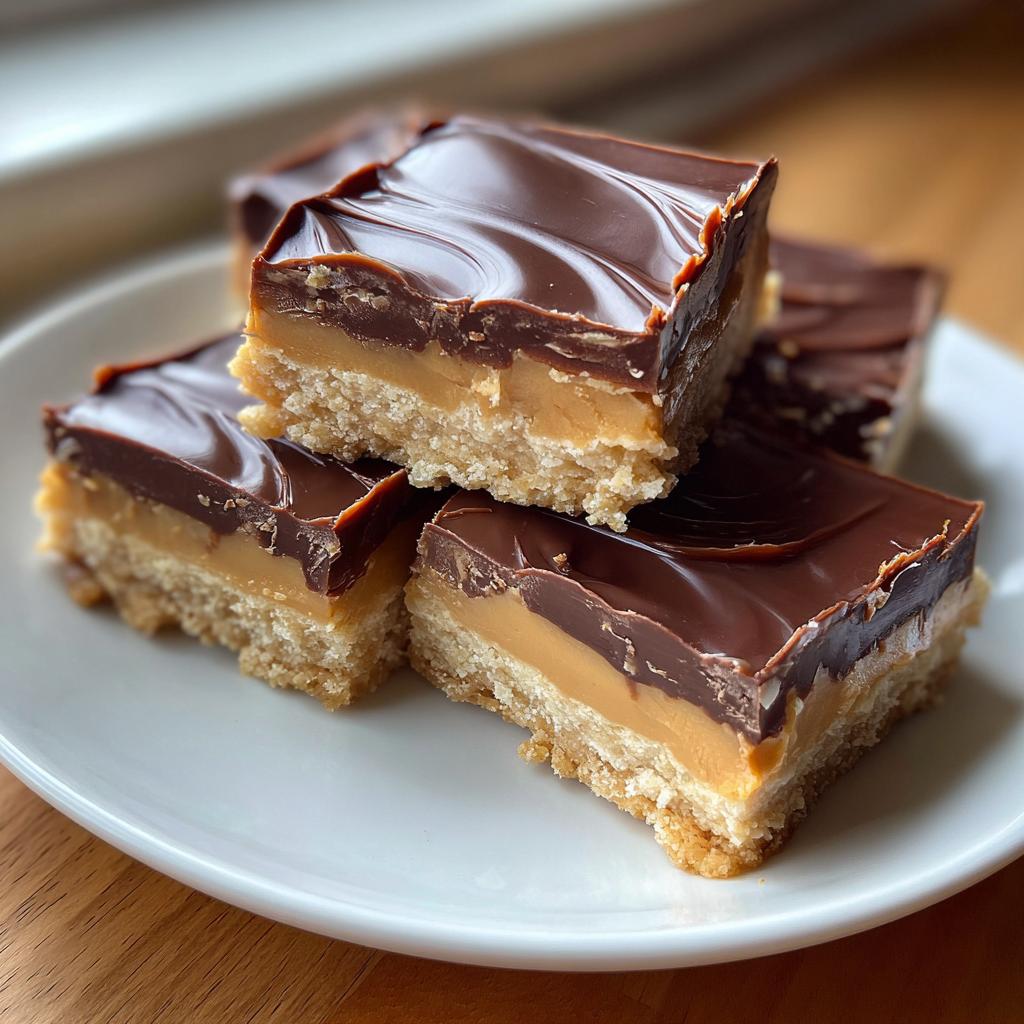
Cutting and Serving
- Pour that gorgeous melted chocolate over your peanut butter base and spread it evenly with a spatula. Now the hardest part – waiting! Pop it in the fridge for at least 2 hours (I know, torture). When it’s set, use a sharp knife to cut into squares – wipe the blade between cuts for clean edges. Then try not to eat them all at once!
See? Easy peasy! The whole process takes about 30 minutes of active time, but the results taste like you spent all day. Now you can bring that Disney magic right to your kitchen!
Tips for Perfect Disneyland Peanut Butter Squares
Want peanut butter squares that would make Walt himself proud? Here are my tried-and-true tricks from years of testing:
- Temperature matters: Bring butter and peanut butter to room temp before mixing – cold ingredients won’t blend smoothly and you’ll end up with lumpy batter (been there!).
- Parchment is your BFF: That extra minute lining your pan means perfectly square slices that pop right out without crumbling.
- Don’t skimp on chocolate: Splurge on good chocolate chips – the higher cocoa butter content makes for a prettier, shinier topping that snaps just right.
- Press firmly: Really pack down that peanut butter layer – I use the bottom of a measuring cup for even pressure.
- Chill before cutting: Resist temptation! Letting it fully set prevents messy, gooey slices.
Follow these tips and you’ll have squares worthy of the Disney bakery case!
Variations and Substitutions
One of the best things about these peanut butter squares? They’re crazy adaptable! Here are my favorite ways to mix things up when I’m feeling creative or need to accommodate allergies:
- Nut butter swaps: Almond butter works beautifully if you’re not a peanut fan – just know the flavor will be slightly more sophisticated (and pairs amazingly with dark chocolate).
- Gluten-free option: Swap in gluten-free graham crackers – they crumble just the same and nobody can tell the difference!
- Chocolate choices: Milk chocolate gives that classic Disney taste, but I adore using dark chocolate (60% cacao) for grown-up appeal. White chocolate works too if you’re feeling fancy!
- Sweetener tweak: For less sweetness, reduce powdered sugar by 1/2 cup – the peanut butter flavor shines brighter this way.
The possibilities are endless – have fun making it your own!
Storing and Freezing Instructions
These peanut butter squares keep beautifully! Store them in an airtight container at room temperature for 2-3 days (if they last that long!), or pop them in the fridge where they’ll stay fresh and firm for up to a week. For longer storage, freeze them between layers of parchment paper – they’ll keep their magic for up to 3 months. Just thaw at room temperature for about 30 minutes before serving. The chocolate might lose some shine after freezing, but the taste remains absolutely perfect!
Nutritional Information
Just so you know what you’re diving into (not that it’s stopped me from eating three at a time!), here’s the scoop on these magical squares. Each piece packs about 320 calories with that perfect balance of sweet and salty – 25g sugar, 6g protein, and 18g of delicious fat. Keep in mind these are estimates – your favorite peanut butter or chocolate brand might tweak the numbers slightly. I like to think of them as happiness per square inch rather than strict nutrition data!
Frequently Asked Questions
Over the years, I’ve gotten every question imaginable about these peanut butter squares – here are the ones that come up most often from fellow Disney dessert lovers:
Can I use crunchy peanut butter instead of creamy?
You totally can! I’ve done it when that’s all I had in the pantry. Just know the texture will be different – you’ll get those delightful peanut bits throughout, but the squares won’t slice quite as cleanly. If you go this route, I recommend pressing the base extra firmly to help hold everything together.
Why does my chocolate topping sometimes crack when cutting?
Ohhh this used to drive me crazy! The trick is letting the squares come to room temperature for about 10 minutes before slicing. That little warm-up prevents the chocolate from shattering. Also, make sure your knife is sharp and wiped clean between cuts – game changer!
Can I make these ahead for a party?
Absolutely! These are actually better on day two when the flavors have melded. I make them up to 3 days in advance – just store them in the fridge and take them out about an hour before serving so the chocolate isn’t too hard. They’ve saved me so many last-minute dessert emergencies!
Can I skip the shortening in the chocolate?
Technically yes, but I don’t recommend it. That little bit of shortening gives the chocolate that perfect snap and shine you know from the Disneyland version. Without it, the topping can get dull and soft at room temperature. But if you must, try adding a teaspoon of coconut oil instead.
Final Thoughts
There you have it – everything you need to recreate that Disneyland bakery magic right in your own kitchen! I’d love to hear how your peanut butter squares turn out. Snap a photo and tag me – seeing your creations brings me as much joy as riding Space Mountain! Now go forth and bake (well, no-bake) those happy memories!
Print
Disneyland Peanut Butter Squares: Irresistibly Easy Magic Recipe
- Total Time: 30 minutes
- Yield: 24 squares 1x
- Diet: Vegetarian
Description
Classic Disneyland Peanut Butter Squares recipe with a rich peanut butter layer covered in chocolate.
Ingredients
- 14 whole graham cracker sheets
- 2 cups creamy peanut butter
- 8 tablespoons butter, softened
- 2 teaspoons vanilla
- ½ teaspoon salt
- 3½ cups powdered sugar
- 4 tablespoons shortening
- 4 cups semi-sweet chocolate chips
Instructions
- Crush graham crackers into fine crumbs.
- Mix peanut butter, butter, vanilla, and salt in a bowl.
- Add powdered sugar and graham cracker crumbs to the mixture.
- Press the mixture into a baking dish.
- Melt chocolate chips and shortening together.
- Spread melted chocolate over the peanut butter layer.
- Let it cool until the chocolate sets.
- Cut into squares and serve.
Notes
- Store in an airtight container.
- Chill for faster setting.
- Prep Time: 20 minutes
- Cook Time: 10 minutes
- Category: Dessert
- Method: No-Bake
- Cuisine: American
Nutrition
- Serving Size: 1 square
- Calories: 320
- Sugar: 25g
- Sodium: 120mg
- Fat: 18g
- Saturated Fat: 7g
- Unsaturated Fat: 9g
- Trans Fat: 0g
- Carbohydrates: 35g
- Fiber: 2g
- Protein: 6g
- Cholesterol: 10mg
Keywords: Disneyland, Peanut Butter Squares, Dessert, No-Bake
