
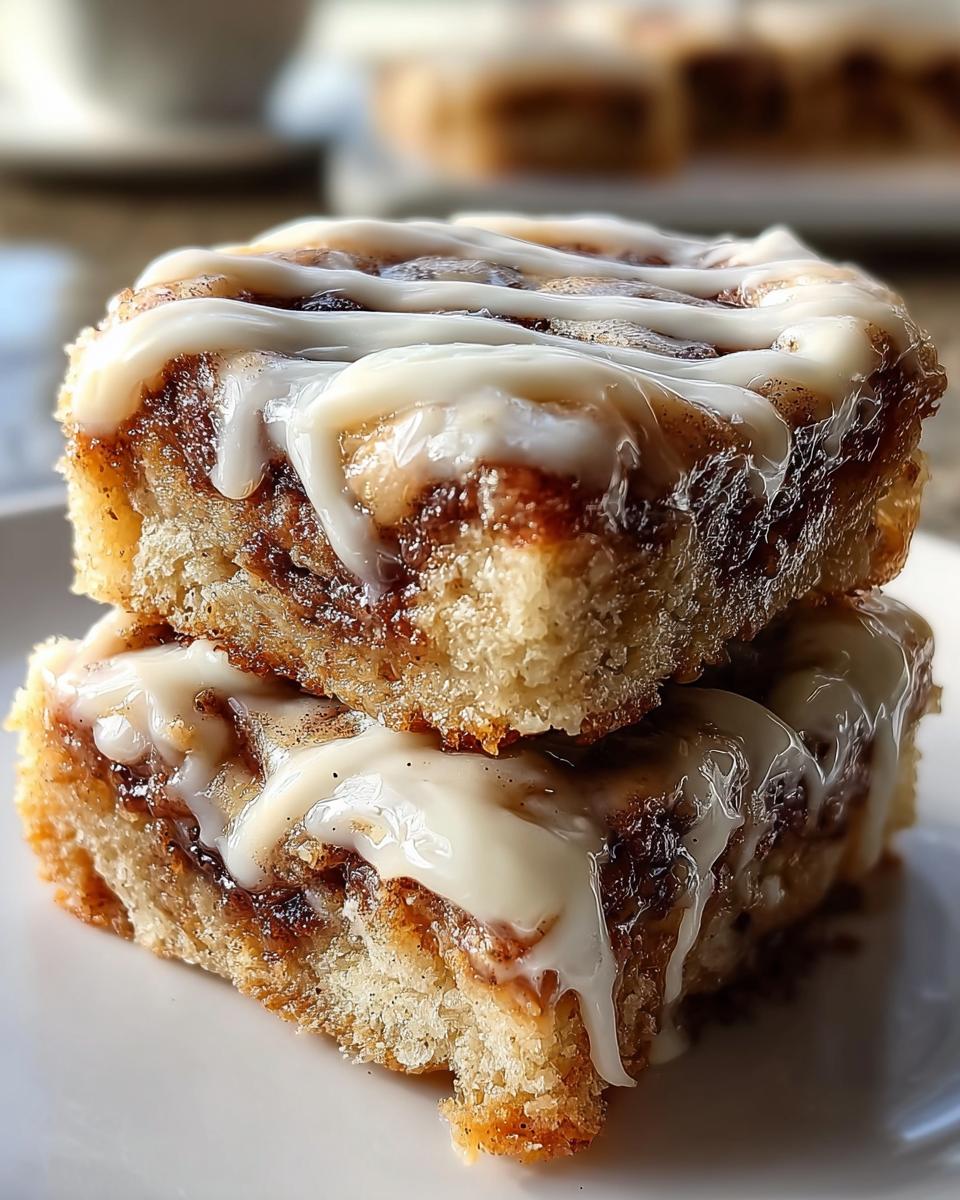
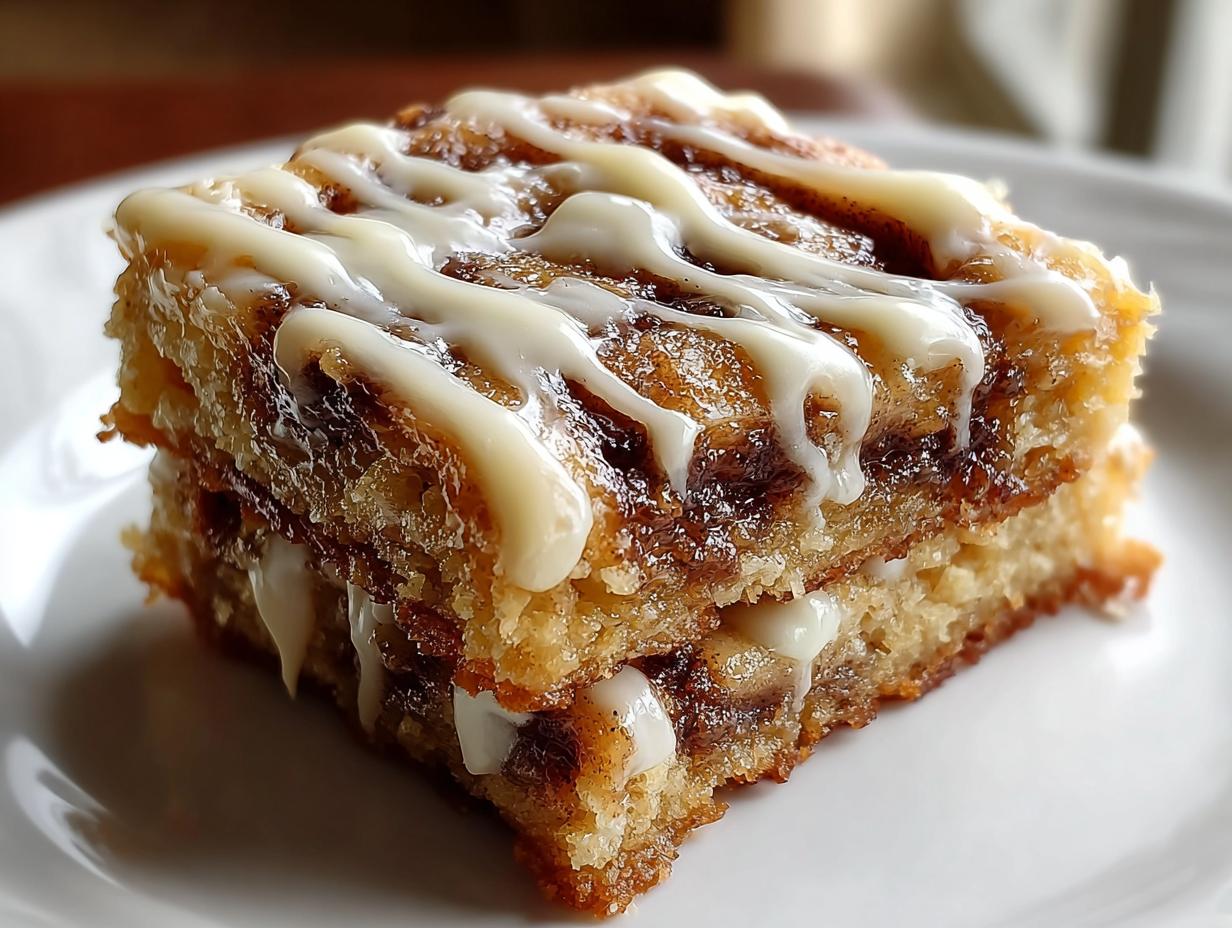
Let me tell you about the joy of making Cinnamon Roll Bliss Bars! Picture this: it’s a cozy Sunday morning, and the sweet scent of cinnamon wafts through my kitchen, filling every corner with warmth. These delightful bars are like the love child of cinnamon rolls and dessert bars, and they have a way of bringing everyone together. Trust me, once you taste them, you’ll understand why they’re a go-to in my home. They’re perfect for family brunches, holiday gatherings, or just a sweet treat to brighten your day!
What makes these bars so special? Well, they’re super easy to whip up, and they capture all the classic flavors of cinnamon rolls in a fun, shareable form. The gooey cinnamon filling and creamy icing drizzled on top are just irresistible. Plus, they only take about 45 minutes from start to finish! So whether you’re celebrating a special occasion or just indulging in a little self-love, these Cinnamon Roll Bliss Bars are the way to go. Get ready to impress your friends and family with this simple yet oh-so-delicious recipe!
Why You’ll Love Cinnamon Roll Bliss Bars
Oh, where do I start? First off, these Cinnamon Roll Bliss Bars are just downright delicious! They bring all the cozy, comforting flavors of traditional cinnamon rolls but in an easy-to-eat bar form. Imagine biting into a sweet, gooey bar that melts in your mouth, topped with a creamy icing that just takes it over the top. Yum!
But wait, there’s more! They’re incredibly simple to make — if you can open a can of cinnamon rolls, you can make these bars! With just a handful of ingredients and about 45 minutes, you’ll have a dessert that’s perfect for sharing at brunches, potlucks, or even just for a cozy night in. Trust me, once you try these, you’ll be dreaming of them long after they’re gone!
Ingredients You’ll Need
Alright, let’s gather everything you need to make these incredible Cinnamon Roll Bliss Bars! I promise, it’s all pretty straightforward, and you might even have some of these ingredients already hanging out in your pantry or fridge!
- Two (2) cans (8 counts each) refrigerated cinnamon rolls (make sure to keep those icing packets reserved for later!)
- 1/2 cup (1 stick) unsalted butter, melted (the butter gives that rich flavor, so don’t skip it!)
- 1/2 cup packed light brown sugar (this adds a lovely sweetness and depth to our bars)
- 1 teaspoon vanilla extract (because vanilla makes everything better, right?)
- 2 ounces cream cheese, softened (for that creamy, dreamy topping)
- 1/2 cup powdered sugar (we’ll mix this with the cream cheese for some sweet icing magic)
Make sure your cream cheese is soft; it’ll blend easier that way. If you forget to take it out of the fridge ahead of time, just pop it in the microwave for about 10 seconds to soften it up. And remember, you can always adjust the sweetness by adding a little more or less powdered sugar to taste. Now, let’s get cooking!
Step-by-Step Instructions
Preparing the Oven and Baking Dish
First things first, let’s get that oven preheating to 350°F (175°C). This is super important because a hot oven means perfectly baked bars! While that’s heating up, grab a baking dish—an 8×8 inch one works great—and grease it up with a bit of non-stick spray or butter. We want those bars to slide right out when they’re done!
Mixing Ingredients
Now, let’s get mixing! In a large bowl, pour in your melted butter, followed by the packed light brown sugar and the teaspoon of vanilla extract. Give it a good stir until everything’s combined and smooth. This mixture is what makes the bars so gooey and heavenly, so don’t rush it! Once combined, you’ll be ready for the next step!
Assembling and Baking the Bars
Here comes the fun part! Open those cans of cinnamon rolls and cut each roll into quarters—yes, you’re going to want to do this because it helps them mix in better. Gently toss the quartered rolls into your buttery mixture, folding them in until they’re well coated. Once that’s done, spread everything evenly into your greased baking dish. Bake them in your preheated oven for about 25-30 minutes, or until they’re golden brown and your kitchen smells like a cozy bakery!
Final Touches
While those bars are baking, let’s whip up the icing! In another bowl, mix together the softened cream cheese and powdered sugar until it’s nice and smooth. Once your bars are out of the oven and cooled down a bit, drizzle them with the reserved icing from the cinnamon roll cans and then the cream cheese mixture. Trust me, this is the cherry on top! Let them cool completely before slicing into those dreamy bars.
Variations
Now, let’s get creative with these Cinnamon Roll Bliss Bars! One of my favorite twists is to add some chopped nuts—pecans or walnuts work beautifully—to the buttery mixture for an extra crunch that contrasts perfectly with the gooey bars. You can also play around with the icing! Instead of the classic cream cheese icing, try a maple glaze or even a chocolate drizzle for a decadent twist. Yum!
If you’re feeling adventurous, how about tossing in some fresh fruit? Diced apples or even blueberries can add a delightful burst of flavor and a bit of freshness to each bite. And for those who might want a little less sweetness, you can cut back on the powdered sugar in the icing or even skip it entirely for a lighter touch. The possibilities are endless, so have fun and make this recipe your own!
Serving and Storage Tips
When it comes to serving these Cinnamon Roll Bliss Bars, I recommend slicing them into generous squares, perfect for sharing! They’re delightful warm, but they also taste amazing at room temperature, making them a wonderful addition to any brunch spread or dessert table. If you’re feeling fancy, serve them with a dollop of whipped cream or a scoop of vanilla ice cream on the side. Yum!
As for leftovers (if there are any, which is rare!), store them in an airtight container at room temperature for up to three days. They’ll still be delicious! If you want to keep them longer, pop them in the fridge for about a week. When you’re ready to enjoy again, just reheat them in the microwave for about 10-15 seconds. This warms them up just right and brings back that gooey goodness. Perfect for a late-night snack or a quick breakfast treat!
Helpful Notes
Before you dive into making these Cinnamon Roll Bliss Bars, here are a few extra tips to ensure everything goes smoothly! First off, if you’re looking to lighten things up a bit, you can use a low-fat cream cheese or even a dairy-free alternative if needed. Just make sure it’s softened to mix easily!
Also, keep an eye on the baking time. Ovens can vary, so check for that golden brown color around the 25-minute mark. You want them just set in the middle but still gooey, so don’t overbake! And if you find you have a bit more filling than you can fit in the dish, don’t worry — just bake it in a small ramekin alongside for a little treat!
Lastly, if you’re feeling adventurous, try adding a sprinkle of cinnamon or nutmeg into the butter mixture for an extra flavor kick. These small adjustments can really elevate the bars! Happy baking!
Frequently Asked Questions
1. Can I freeze these Cinnamon Roll Bliss Bars?
Absolutely! These bars freeze wonderfully. Just make sure they’re completely cooled, then wrap them tightly in plastic wrap or foil and place them in an airtight container. They’ll keep in the freezer for up to three months. When you’re ready to enjoy, just let them thaw in the fridge overnight or pop them in the microwave for a quick warm-up!
2. What if I don’t have cream cheese for the icing?
No problem at all! If you’re out of cream cheese, you can substitute it with Greek yogurt for a tangy twist or even use a store-bought icing if you’re in a pinch. Just remember that the flavor might change a little, but it’ll still be delicious!
3. How can I make this recipe dairy-free?
You can easily make these bars dairy-free by using dairy-free butter and cream cheese alternatives. There are some fantastic options on the market now that taste just as good, so don’t hesitate to try them! Just ensure they’re softened for easy mixing.
4. Can I double this recipe for a larger gathering?
Definitely! You can double the ingredients and bake them in a larger baking dish, like a 9×13 inch pan. Just keep an eye on the baking time, as it may take a bit longer to cook through. You want that golden brown finish!
5. What toppings can I add for extra flair?
Get creative! Chopped nuts, sprinkles, or even a drizzle of caramel sauce can really take these bars to the next level. You could also add a dusting of cinnamon or a sprinkle of sea salt for a fancy touch. Enjoy experimenting!
Final Thoughts
So, there you have it! My beloved Cinnamon Roll Bliss Bars are ready to become a star in your kitchen. I can’t wait for you to try them out! Whether you’re making them for a special occasion or just because you deserve a little treat, I know these bars will bring smiles all around. Don’t forget to share your thoughts and any fun variations you try! Cooking is all about joy and creativity, so make it your own.
Remember, every time you whip up a batch, you’re creating sweet memories. So, gather your loved ones, slice into these gooey, cinnamon-swirled delights, and enjoy every blissful bite. Happy baking, my friends!
Print
Cinnamon Roll Bliss Bars
- Total Time: 45 minutes
- Yield: 16 bars 1x
- Diet: Vegetarian
Description
Delicious cinnamon roll bars topped with sweet icing.
Ingredients
- Two (2) cans (8 counts each) refrigerated cinnamon rolls (with icing packets reserved)
- 1/2 cup (1 stick) unsalted butter, melted
- 1/2 cup packed light brown sugar
- 1 teaspoon vanilla extract
- 2 ounces cream cheese, softened
- 1/2 cup powdered sugar
Instructions
- Preheat your oven to 350°F (175°C).
- Grease a baking dish.
- Open the cinnamon roll cans and cut each roll into quarters.
- In a bowl, mix melted butter, brown sugar, and vanilla extract.
- Add the quartered cinnamon rolls to the mixture and stir gently.
- Spread the mixture in the prepared baking dish.
- Bake for 25-30 minutes or until golden brown.
- While baking, mix cream cheese and powdered sugar in a bowl until smooth.
- Once bars are done, drizzle with reserved icing and cream cheese mixture.
- Let cool before serving.
Notes
- Store leftovers in an airtight container.
- Reheat in the microwave for a few seconds before serving.
- Prep Time: 15 minutes
- Cook Time: 30 minutes
- Category: Dessert
- Method: Baking
- Cuisine: American
Nutrition
- Serving Size: 1 bar
- Calories: 200
- Sugar: 12g
- Sodium: 150mg
- Fat: 9g
- Saturated Fat: 5g
- Unsaturated Fat: 3g
- Trans Fat: 0g
- Carbohydrates: 28g
- Fiber: 1g
- Protein: 2g
- Cholesterol: 20mg
Keywords: Cinnamon Roll Bliss Bars
