
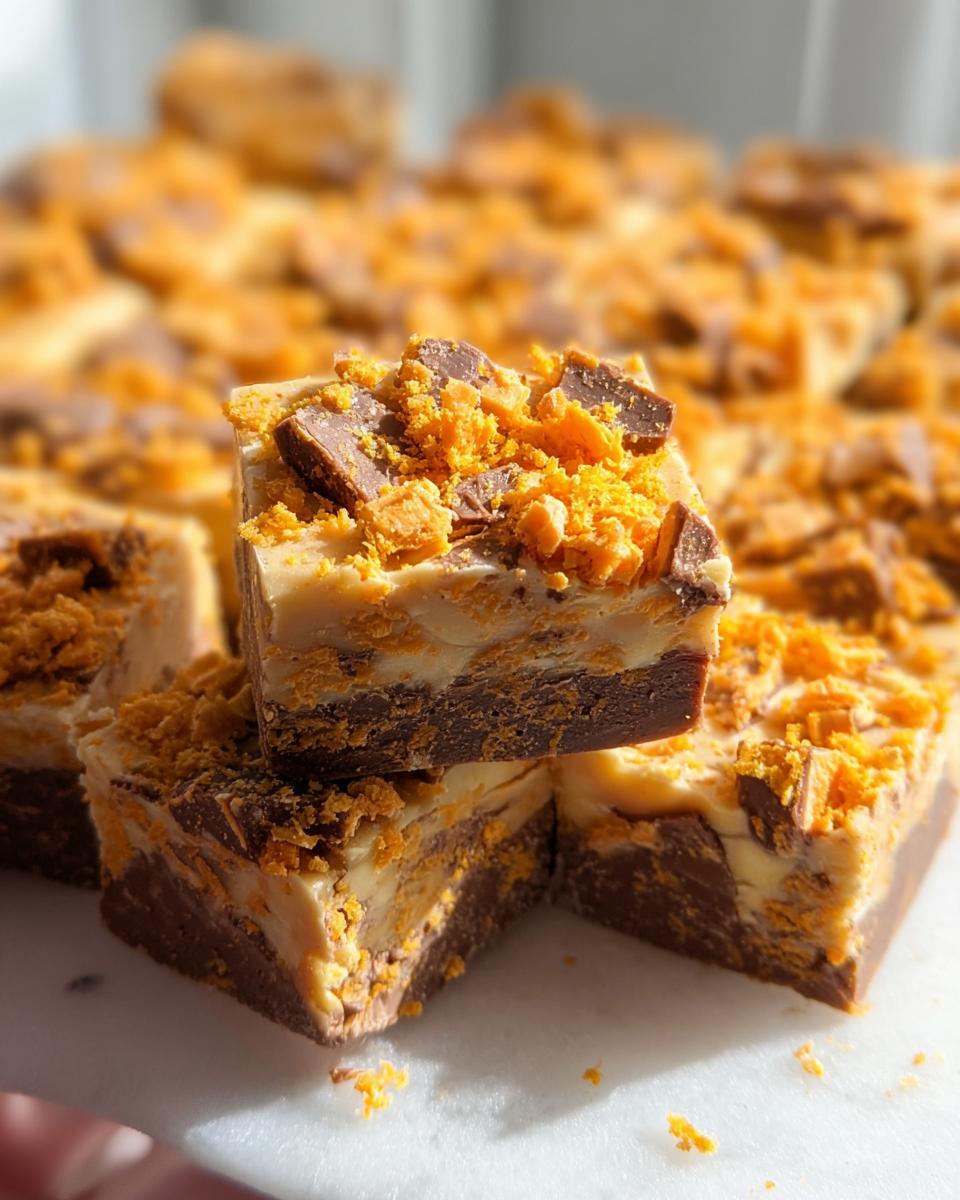
Oh my goodness, let me tell you about my Butterfinger Fudge! This rich and creamy treat is pure bliss, combining the smoothness of chocolate with the crunchy, peanut-buttery goodness of Butterfinger candy. I remember the first time I made it — I was feeling a little nostalgic about my childhood, and I just had to whip up something sweet that reminded me of those candy bars I used to sneak from my Halloween stash. Trust me, the moment you take your first bite, you’ll be transported back to those carefree days!
This Butterfinger Fudge is not only perfect for satisfying a sweet tooth, but it also makes an incredible gift for friends and family during the holidays or any special occasion. Imagine the delight on their faces when you present them with a beautifully packaged box of homemade fudge! It’s easy to make, and the combination of flavors is simply irresistible. So, are you ready to dive into this deliciousness? Let’s get started!
Why You’ll Love Butterfinger Fudge
Let me tell you why Butterfinger Fudge is going to become your new favorite treat! First off, the rich, creamy texture is like a hug in dessert form. It’s so indulgent, it’ll make you feel like you’re treating yourself to something truly special. Plus, it’s incredibly easy to whip up — no fancy techniques or multiple bowls required! Just a saucepan and a little stirring, and you’re on your way to fudge heaven.
And let’s not forget the nostalgia factor! Butterfinger candy bars have a special place in my heart, and I know I’m not alone in that. This fudge captures all those delightful flavors and memories in one bite. Whether you’re making it for a holiday gathering, a birthday celebration, or just because it’s Tuesday, this fudge is sure to impress everyone. Trust me, once you try it, you’ll be dreaming about it for days!
Ingredients You’ll Need
Getting your ingredients together for this Butterfinger Fudge is a breeze! Here’s what you’ll need:
- 3 cups semi-sweet chocolate chips (I love using Ghirardelli brand for that perfect meltiness!)
- 14 ounces sweetened condensed milk (this is what gives the fudge its creamy texture — don’t skip it!)
- 1/4 cup heavy cream (just a little adds to the richness — yum!)
- 2 cups roughly chopped Butterfinger candy bars (this is where the magic happens, trust me!)
- 1 cup finely chopped Butterfinger candy bars (for that crunchy topping that makes it look so pretty!)
Make sure to have everything prepped before you start cooking. It’ll make the process so much smoother and more enjoyable!
Step-by-Step Instructions
Now that you’ve gathered all your ingredients, it’s time to dive into the deliciousness of making Butterfinger Fudge! Don’t worry, it’s super simple and I’ll walk you through each step. Let’s get that fudge bubbling!
Preparing the Fudge Mixture
First things first, grab a medium-sized saucepan and throw in those 3 cups of semi-sweet chocolate chips, the 14 ounces of sweetened condensed milk, and the 1/4 cup of heavy cream. Place it over medium heat and stir constantly. Seriously, don’t walk away! You want to keep stirring until everything melts together into a smooth, luscious mixture. This should take about 5 to 7 minutes. If it starts to bubble a little, just turn the heat down to avoid any burning. You’re looking for that perfect velvety consistency!
Incorporating Butterfinger Candy
Once your fudge mixture is nice and smooth, it’s time to add in the fun part — the Butterfinger candy! Gently fold in the 2 cups of roughly chopped Butterfinger bars into the melted chocolate. Make sure to mix it well so every bite gets that sweet, crunchy goodness. You want the Butterfinger pieces evenly distributed throughout the fudge for that delightful flavor explosion. Just be gentle — you don’t want to break up the pieces too much!
Setting the Fudge
Now that you’ve mixed in the Butterfinger, it’s time to pour this heavenly mixture into a lined baking dish. I usually use an 8×8 inch pan, but you can go a little bigger if you want thinner fudge. Spread it out evenly so it looks all nice and pretty. Then, sprinkle the 1 cup of finely chopped Butterfinger on top — this is what makes it look irresistible! Now, pop it in the fridge for at least 2 hours to let it set. Patience is key here, but I promise it’s worth the wait! Once it’s set, you can cut it into squares and dive right in!
Variations
Now, if you’re feeling adventurous, there are so many fun ways to switch up this Butterfinger Fudge! For starters, you could swap out the semi-sweet chocolate chips for dark chocolate or even white chocolate if that’s more your jam. Each type brings its own unique flavor and richness to the fudge!
If you’re a nut lover like me, consider adding some chopped peanuts or even walnuts into the mix for an extra crunch. Just fold them in along with the Butterfinger pieces. You could also take it a step further by incorporating other candy bars! Think Snickers or Milky Way for a fun twist — just chop them up and mix them in. The possibilities are endless!
And hey, if you want to make it a bit healthier, try using nut butter instead of some of the heavy cream. It’ll add a nice flavor while still keeping it creamy. So get creative, and don’t be afraid to experiment with your favorite flavors and textures! You never know what delicious combinations you might come up with!
Serving and Storage Tips
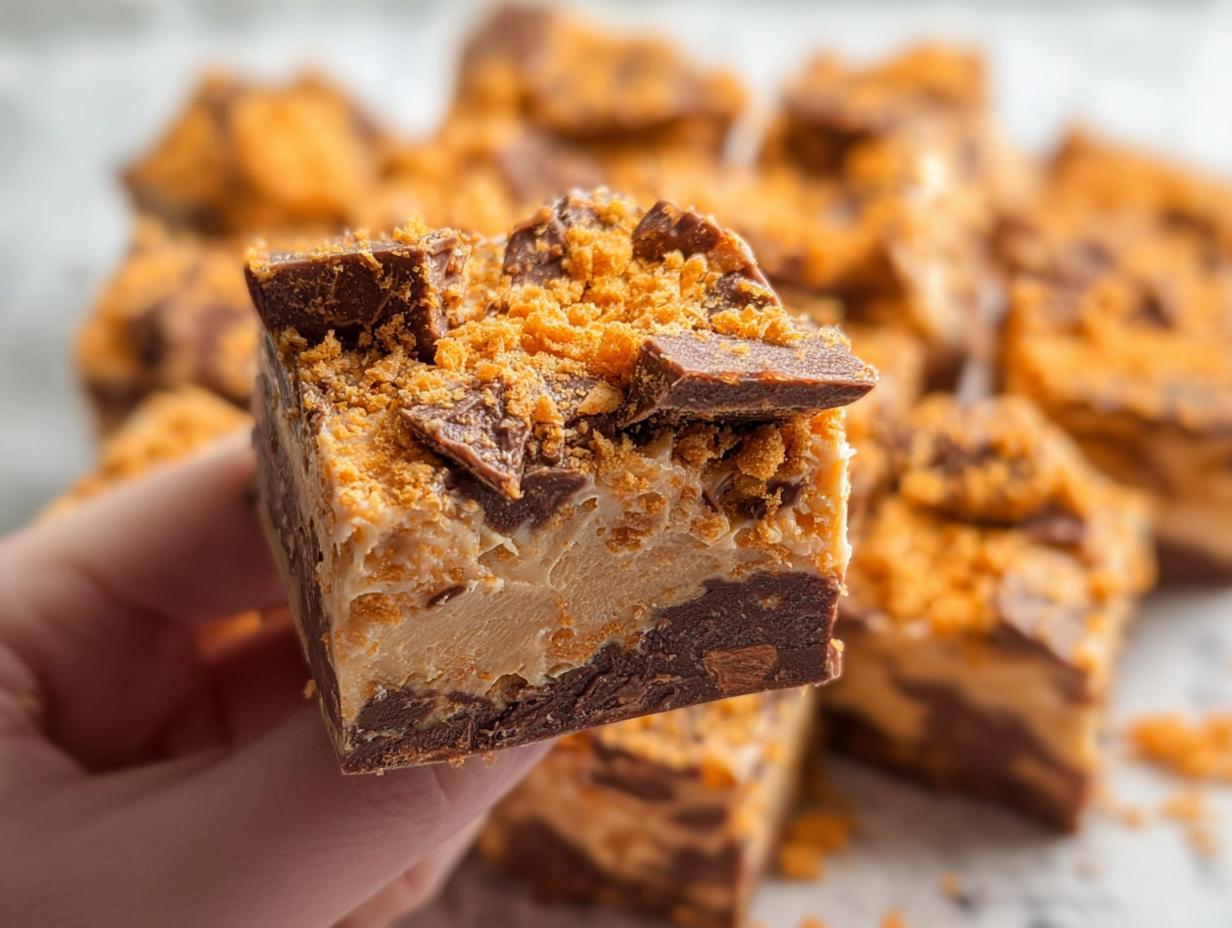
When it comes to serving your Butterfinger Fudge, the best way is to cut it into delightful little squares. I usually aim for 1-inch pieces, but you can make them bigger if you’re feeling extra indulgent! Just make sure to let the fudge sit at room temperature for about 5-10 minutes before cutting; it’ll make slicing through that rich, creamy goodness so much easier!
Now, let’s talk storage. Once your fudge is perfectly cut, store it in an airtight container in the refrigerator. It’ll last for about 1 to 2 weeks, but let’s be real — it probably won’t last that long with how delicious it is! If you need to keep it longer, you can freeze the fudge for up to 3 months. Just make sure to wrap it tightly in plastic wrap and then place it in a freezer-safe container. When you’re ready to enjoy it again, simply let it thaw in the fridge overnight. Trust me, you’ll want to keep some on hand for those sweet cravings!
Helpful Notes
To make the best Butterfinger Fudge, the quality of your ingredients really matters! I always recommend using high-quality chocolate chips, like Ghirardelli, for that rich flavor and perfect meltability. Trust me, it makes all the difference in the world! Also, let your fudge sit at room temperature for about 5 to 10 minutes before cutting it. This little trick helps it soften just enough to make slicing easier and cleaner.
If you’re looking to tweak the nutritional aspects, you can try using a lower-fat cream or even a dairy-free alternative to make this treat a bit lighter. You could also experiment with sugar substitutes if you’re watching your intake. Just keep in mind that some substitutes might alter the texture slightly, but it’s all about what works best for you. Whatever adjustments you make, the joy of indulging in homemade fudge is totally worth it!
Frequently Asked Questions
1. Can I use a different type of chocolate for the fudge?
Absolutely! You can swap semi-sweet chocolate chips for dark chocolate or even white chocolate, depending on your taste preference. Just remember that different chocolates may alter the sweetness and richness of the fudge.
2. What if I don’t have sweetened condensed milk?
No worries! You can make a homemade version by simmering regular milk with sugar until it thickens, or you can substitute it with evaporated milk mixed with a bit of sugar. Just keep in mind that the consistency might vary a little.
3. Is there a way to make this fudge dairy-free?
Yes! You can use dairy-free chocolate chips and coconut cream or a plant-based heavy cream alternative. It may change the flavor a bit, but it’ll still be delicious!
4. How do I troubleshoot if my fudge doesn’t set?
If your fudge isn’t setting, it might be due to not cooking it long enough or not cooling it properly. Make sure to refrigerate it for the full 2 hours and, if needed, give it an extra hour to firm up. You can also return it to the heat and add more chocolate to help thicken it up.
Final Thoughts
Making Butterfinger Fudge is truly a delightful experience that brings joy to both the cook and those lucky enough to enjoy it. There’s something so special about creating a treat that not only satisfies your sweet tooth but also evokes fond memories. I encourage you to try this recipe and share it with your family and friends. Whether it’s for a special occasion or just a cozy night in, this fudge is sure to impress! And hey, I’d love to hear how it turns out for you. Share your experiences and any fun variations you try — let’s keep this delicious fudge love going!
Print
Butterfinger Fudge
- Total Time: 2 hours 25 minutes
- Yield: 24 pieces 1x
- Diet: Vegetarian
Description
This Butterfinger Fudge is a rich and creamy treat that combines chocolate and Butterfinger candy for a delicious dessert.
Ingredients
- 3 cups semi-sweet chocolate chips (Ghirardelli brand)
- 14 ounces sweetened condensed milk
- 1/4 cup heavy cream
- 2 cups roughly chopped Butterfinger candy bar (mixed into the fudge batter)
- 1 cup finely chopped Butterfinger candy bar (for the topping)
Instructions
- In a saucepan, combine chocolate chips, sweetened condensed milk, and heavy cream over medium heat.
- Stir constantly until the chocolate chips melt and the mixture is smooth.
- Fold in the roughly chopped Butterfinger candy bar.
- Pour the fudge mixture into a lined baking dish and spread evenly.
- Sprinkle the finely chopped Butterfinger candy bar on top.
- Refrigerate for at least 2 hours to set.
- Cut into squares and serve.
Notes
- Store fudge in an airtight container in the refrigerator.
- Use high-quality chocolate chips for best results.
- Let the fudge sit at room temperature for a few minutes before cutting for easier handling.
- Prep Time: 15 minutes
- Cook Time: 10 minutes
- Category: Dessert
- Method: Stovetop
- Cuisine: American
Nutrition
- Serving Size: 1 piece
- Calories: 150
- Sugar: 12g
- Sodium: 40mg
- Fat: 8g
- Saturated Fat: 5g
- Unsaturated Fat: 2g
- Trans Fat: 0g
- Carbohydrates: 18g
- Fiber: 1g
- Protein: 2g
- Cholesterol: 10mg
Keywords: Butterfinger Fudge, dessert, chocolate, candy
