
There’s something undeniably magical about Apple Pie. I remember the first time I helped my grandma make one in her tiny kitchen, flour dusting the air like a soft snowfall. The smell of spiced apples bubbling away on the stove was so comforting, it felt like a warm hug. As the pie baked, we’d steal tastes of the filling, giggling over how we’d have to save some for the crust. It’s a classic dessert that never fails to bring smiles, whether it’s a cozy family dinner or a festive holiday gathering.
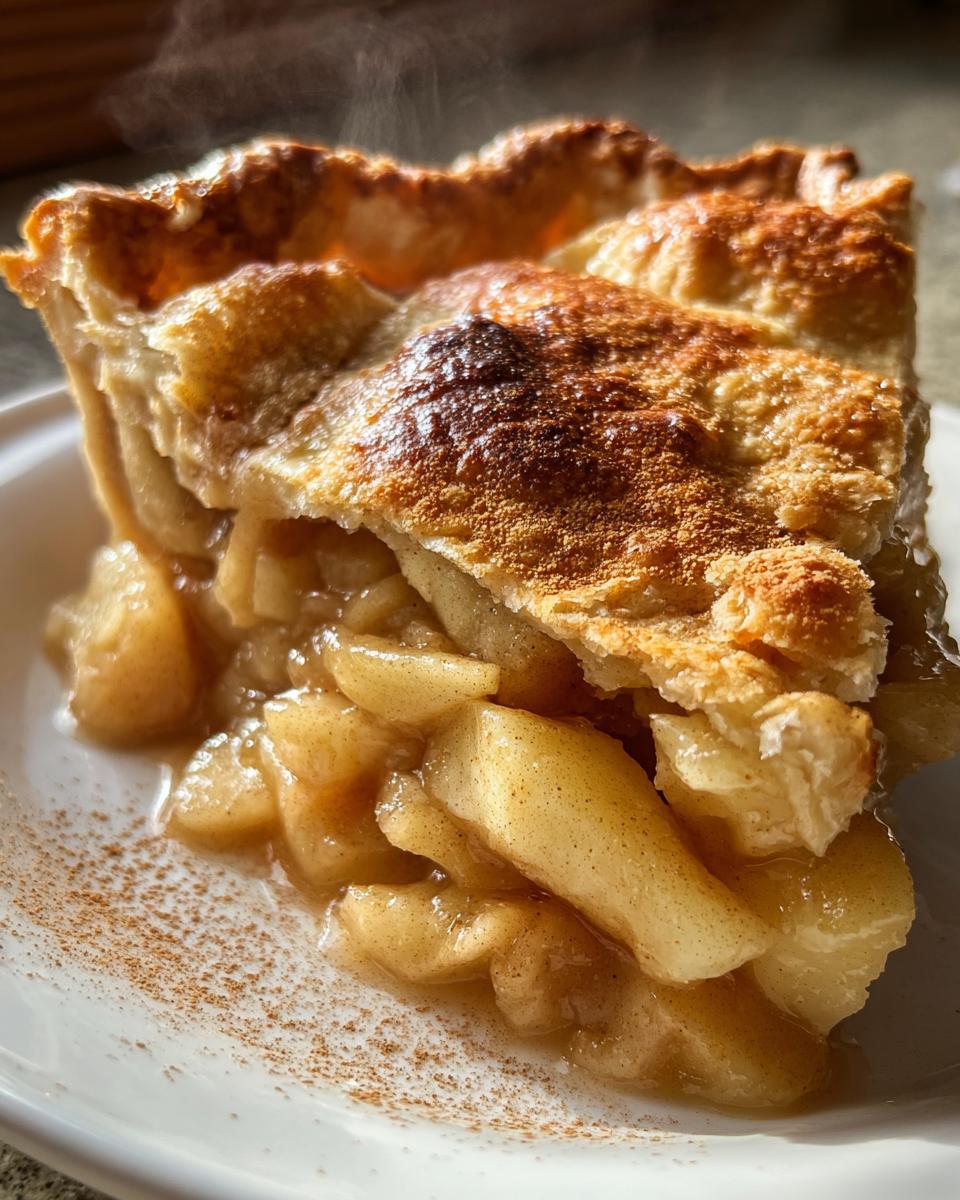
Apple Pie is the epitome of comfort food and embodies everything that’s wonderful about home cooking. With a buttery, flaky crust enveloping sweet, spiced apples, it’s a slice of nostalgia on a plate. Trust me, once you take that first bite, you’ll understand why this recipe has been passed down through generations. It’s perfect for any occasion, and I can’t wait to share my secrets for making the best Apple Pie with you!
Why You’ll Love Apple Pie
Apple Pie is more than just a dessert; it’s a celebration of tradition and warmth that brings people together. There’s something special about the way the aroma of cinnamon and sugar wafts through the house, inviting everyone to gather around the kitchen. Each slice tells a story, whether it’s a memory of family gatherings, holiday feasts, or simple Sunday dinners. This pie isn’t just delicious; it’s steeped in nostalgia, reminding us of simpler times and the love baked into every layer.
And let’s not forget how versatile it is! It’s a crowd-pleaser that appeals to both young and old, making it perfect for any occasion. Whether served warm with a scoop of vanilla ice cream or enjoyed the next day cold from the fridge, Apple Pie is a timeless classic that never goes out of style. You’re going to love making and sharing your own version of this delightful treat!
Ingredients You’ll Need
To whip up the most delicious Apple Pie, you’ll need a handful of simple ingredients that come together beautifully. Here’s what you’ll need:
- 2 tablespoons unsalted butter: For that rich, buttery flavor that enhances the apples. Make sure it’s unsalted to keep the pie balanced.
- 2 ½ pounds apples: I love using about 5 large Honeycrisp apples, peeled, cored, and cut into wedges. Their sweet and tart balance is simply perfect!
- ¼ teaspoon ground allspice: This adds a lovely warmth to your filling. If you don’t have allspice, a pinch of nutmeg works too!
- ½ teaspoon ground cinnamon: A must-have for that classic apple pie flavor. It just wouldn’t be the same without it!
- ¼ teaspoon kosher salt: Just a little to enhance all the sweet goodness.
- ¾ cup plus 1 tablespoon sugar: This is your sweetener. The extra tablespoon is to sprinkle on the crust for a little extra crunch and sweetness.
- 2 tablespoons all-purpose flour: Helps thicken the apple filling as it bakes, so you don’t end up with a runny pie.
- 2 teaspoons cornstarch: Another thickener that gives your filling the perfect consistency.
- 1 tablespoon apple cider vinegar: This adds a little zing to the filling, brightening up all those sweet flavors.
- 1 recipe double pie dough or pre-made crust: You can make your own or save time with a store-bought version; either works great!
- 1 egg, lightly beaten: This will give your crust that beautiful golden color when baked.
Gather these ingredients, and you’re well on your way to creating a pie that will fill your home with the most delightful aroma!
Step-by-Step Instructions
Making an Apple Pie is a delightful process, and I’m here to guide you through each step. Trust me; it’s easier than you might think! Let’s dive in!
Prepping the Apples
First things first, we need to get those apples ready! Start by melting the butter in a large skillet over medium heat. Once that butter is all bubbly and fragrant, toss in the sliced apples along with the ground allspice, cinnamon, kosher salt, sugar, flour, cornstarch, and apple cider vinegar.
Stir everything together until the apples are well coated. Now, let this mixture cook for about 10 minutes, stirring occasionally. You want the apples to soften but not turn mushy; a little firmness will give your pie that perfect bite!
Assembling the Pie
Now that your apples are perfectly spiced and softened, it’s time to roll out that pie dough! If you’re using homemade crust, divide it into two equal halves. Roll out one half on a floured surface until it’s about 12 inches in diameter. Gently place it in a 9-inch pie dish, letting the excess hang over the edges.
Next, pour the delicious apple filling into the crust, spreading it evenly. Roll out the second half of the dough, and place it over the filling. Don’t worry about perfection here; rustic is the name of the game! Seal the edges by pinching them together or using a fork to create a crimped edge. Cut a few slits in the top crust to allow steam to escape—this is super important to avoid a soggy pie!
Baking the Pie
Preheat your oven to 425°F (220°C) while you finish assembling. Once you’re ready, give the top crust a lovely brush with the beaten egg to help it brown beautifully. Carefully place the pie in the oven and bake it for about 45-50 minutes. Keep an eye on it; you want that crust to turn golden brown and the filling to be bubbling away!
After baking, let the pie cool for at least 2 hours before slicing. I know it’s tempting, but this cooling time allows the filling to set up perfectly. You’ll be rewarded with a slice that holds its shape and tastes heavenly!
Variations
The beauty of Apple Pie is its versatility! You can easily switch things up to make it your own. For starters, try using different apple varieties. While Honeycrisps are my go-to, a mix of tart Granny Smiths and sweet Fujis can create a fantastic flavor profile. Each apple brings its own unique taste and texture, making your pie even more delightful!
Feeling adventurous? Consider adding a twist with spices! A touch of nutmeg, cardamom, or even a hint of ginger can elevate your pie to a whole new level. You could also mix in some dried fruits like raisins or cranberries for a pop of flavor. And if you love a bit of crunch, sprinkle some chopped nuts like pecans or walnuts into the filling. These little tweaks can transform a classic Apple Pie into a new family favorite!
Serving and Storage Tips
When it comes to serving your Apple Pie, the options are endless! I love serving it warm, right out of the oven, with a generous scoop of vanilla ice cream melting on top. The contrast of the warm pie and cold ice cream is simply heavenly! If you’re feeling extra indulgent, a dollop of freshly whipped cream is another delightful choice.
As for leftovers (if there are any!), store your pie in the fridge, covered loosely with plastic wrap or foil. It will keep for about 3-4 days. You can also freeze it! Just wrap the pie tightly in plastic wrap and aluminum foil, and it should last for up to 3 months. When you’re ready to enjoy a slice, simply reheat it in a 350°F (175°C) oven for about 15-20 minutes. Your home will smell amazing again, and you’ll be transported back to that cozy moment when you first baked it!
Helpful Notes
Here are a few extra tips to ensure your Apple Pie turns out perfectly every time! First, if you’re looking to cut back on sugar, you can reduce the amount of sugar in the filling by about ¼ cup without sacrificing too much flavor, especially if your apples are naturally sweet. If you want a gluten-free version, just swap the all-purpose flour and pie crust for gluten-free alternatives. There are some fantastic store-bought options available!
Another tip: if you notice your crust browning too quickly while baking, cover the edges with foil to prevent burning. And don’t forget, letting your pie cool before slicing is key. It allows the filling to set and makes for cleaner slices. Most importantly, have fun with the process! Baking should be a joy, so don’t stress about minor imperfections—they add character to your pie!
Frequently Asked Questions
1. Can I freeze this Apple Pie?
Absolutely! You can freeze your pie either before or after baking. If freezing before baking, wrap it tightly in plastic wrap and aluminum foil, and it should last for up to 3 months. Just bake it directly from the freezer, adding an extra 10-15 minutes to the baking time.
2. What if I don’t have all the spices?
No worries! If you’re missing allspice or cinnamon, you can get creative. A pinch of nutmeg can stand in for allspice, and you can simply skip the cinnamon if you prefer a different flavor profile. The apples will still shine!
3. Can I use a store-bought crust?
Yes! Store-bought pie crusts are a great time-saver. Just make sure to follow the package instructions for baking, and you’ll still end up with a delicious pie.
4. How do I reheat leftovers?
To reheat your Apple Pie, preheat your oven to 350°F (175°C) and place the pie on a baking sheet. Heat for about 15-20 minutes, or until warmed through. This will help maintain that lovely crust!
5. Can I make it dairy-free?
Definitely! You can substitute the unsalted butter with a dairy-free alternative like coconut oil or vegan butter, and your pie will still taste amazing!
Final Thoughts
Making Apple Pie isn’t just about baking; it’s about creating memories and sharing love with those around you. The joy of pulling a perfectly golden pie from the oven, the aroma wafting through the house, and the smiles on your loved ones’ faces as they take their first bite—there’s nothing quite like it! I encourage you to try this recipe, customize it to your tastes, and make it your own. Whether it’s for a holiday gathering, a cozy family dinner, or just because, your homemade Apple Pie will surely become a beloved tradition. And please, share your experiences with me! I’d love to hear about your baking adventures and any fun twists you put on this classic recipe. Happy baking!
Print
Apple Pie Recipe
- Total Time: 1 hour 10 minutes
- Yield: 8 servings 1x
- Diet: Vegetarian
Description
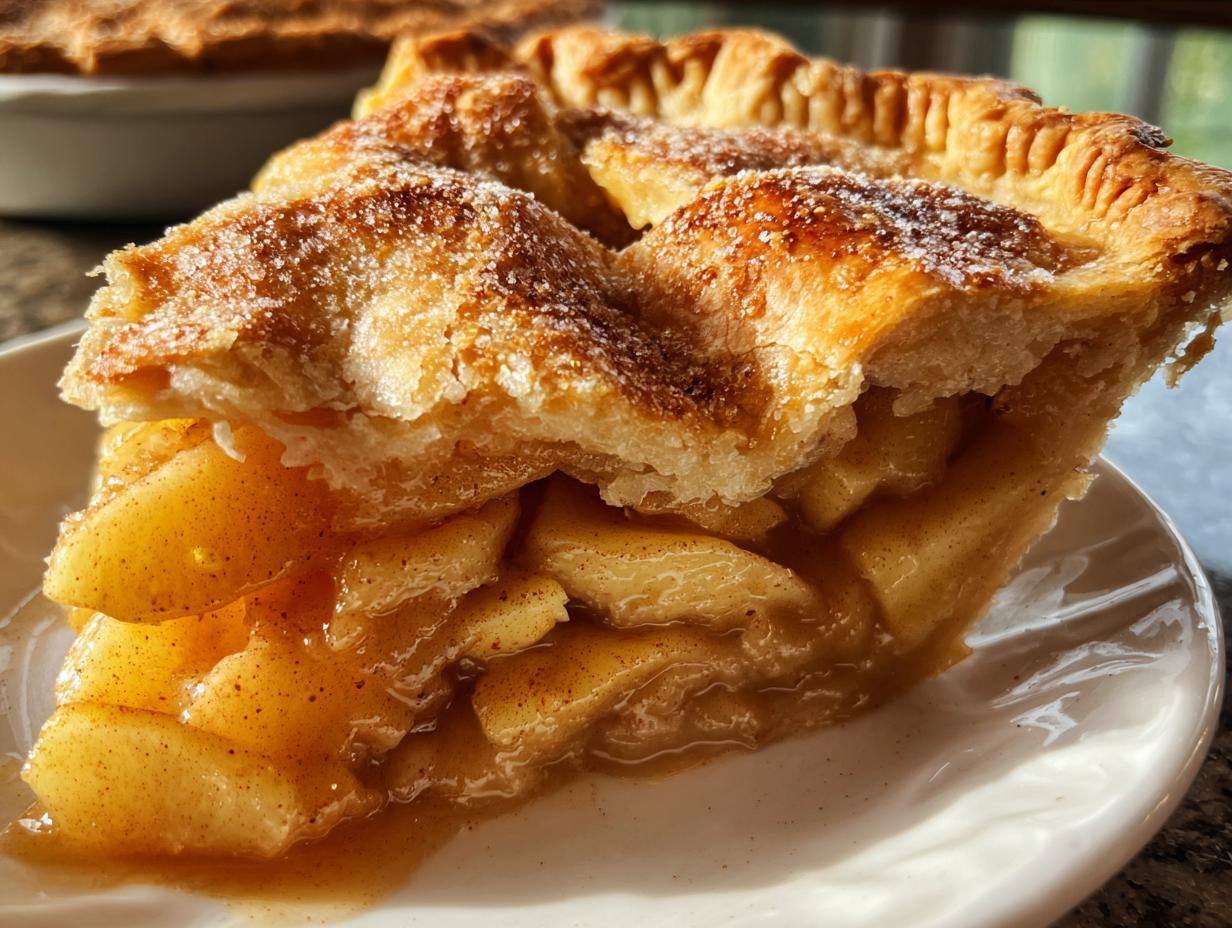
A classic apple pie with a buttery crust and spiced apple filling.
Ingredients
- 2 tablespoons unsalted butter
- 2 ½ pounds apples, peeled and cored, then cut into wedges (about 5 large Honeycrisps)
- ¼ teaspoon ground allspice
- ½ teaspoon ground cinnamon
- ¼ teaspoon kosher salt
- ¾ cup plus 1 tablespoon sugar
- 2 tablespoons all-purpose flour
- 2 teaspoons cornstarch
- 1 tablespoon apple cider vinegar
- 1 recipe double pie dough or pre-made crust
- 1 egg, lightly beaten
Instructions
- Preheat the oven to 425°F (220°C).
- Melt butter in a large skillet over medium heat.
- Add apples, allspice, cinnamon, salt, sugar, flour, cornstarch, and vinegar. Mix well.
- Cook for about 10 minutes, stirring occasionally until apples soften.
- Roll out the pie dough and place it in a pie dish.
- Fill the crust with the apple mixture.
- Cover with the top crust, sealing the edges.
- Cut slits in the top crust to allow steam to escape.
- Brush the top with the beaten egg.
- Bake for 45-50 minutes or until the crust is golden brown.
Notes
- Let the pie cool before slicing.
- Serve with ice cream or whipped cream.
- Prep Time: 20 minutes
- Cook Time: 50 minutes
- Category: Dessert
- Method: Baking
- Cuisine: American
Nutrition
- Serving Size: 1 slice
- Calories: 300
- Sugar: 20g
- Sodium: 150mg
- Fat: 12g
- Saturated Fat: 7g
- Unsaturated Fat: 4g
- Trans Fat: 0g
- Carbohydrates: 45g
- Fiber: 3g
- Protein: 2g
- Cholesterol: 70mg
Keywords: Apple Pie, Dessert, Baking, American
